
The other day my little guy was watching an episode of Blues Clues and they were talking about story time and books. By the end of the episode they had made up a story about the things they did that day while playing the game of Blues Clues. For the rest of the day my little man was making up his own stories (although in all honestly I had no idea what he was saying). I wanted to make a little book for him that he could put his own “stories” down so he could “read” them. Now, I know he is only two so reading and writing aren’t really his thing yet, but that doesn’t mean I can’t let his little imagination run wild!
Now, making a simple paper book isn’t exactly rocket science. And it would be just as easy to fold over some plain paper and staple it down the middle. But I wanted something that looked a little more like a book and was a little more sturdy on the outside. And it didn’t hurt that I got to use up some of the massive quantities of blank stationary that I had.
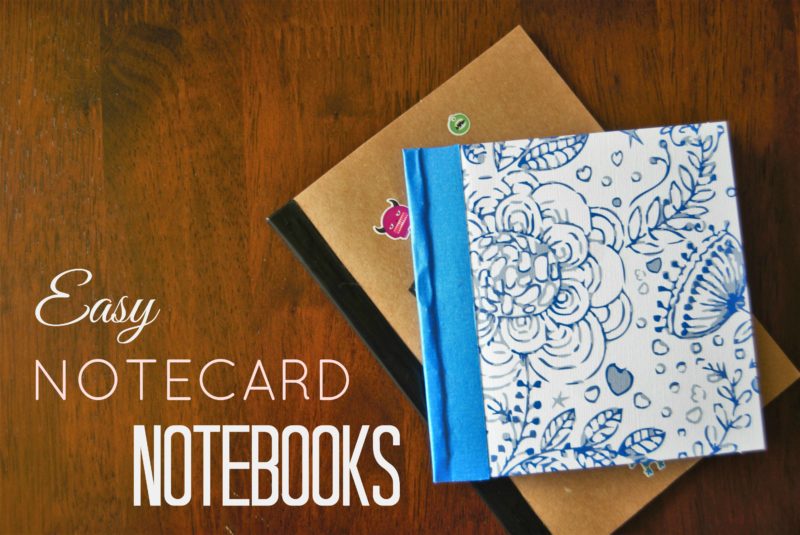
I have to say that I loved the way these little books turned out. They were just the right size for my toddler and they only took me about 5 minutes to make! The best part is they can be used for so many things! I have already stashed one in my purse for grocery lists and to-do notes. I also used to work in a preschool, and if these would be an easy and affordable way to make little books for an entire classroom full of kids. They can be decorated and personalized and plain paper could easily be swapped out for lined notebook paper. So many possibilities!
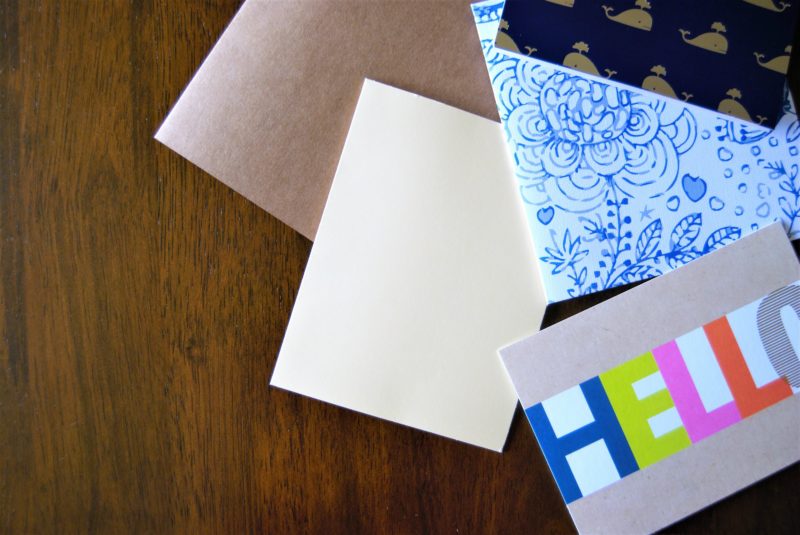
What you need:
- -blank stationary cards
- -plain white paper
- stapler
- washi tape or any non-clear tape
- paper cutter or scissor
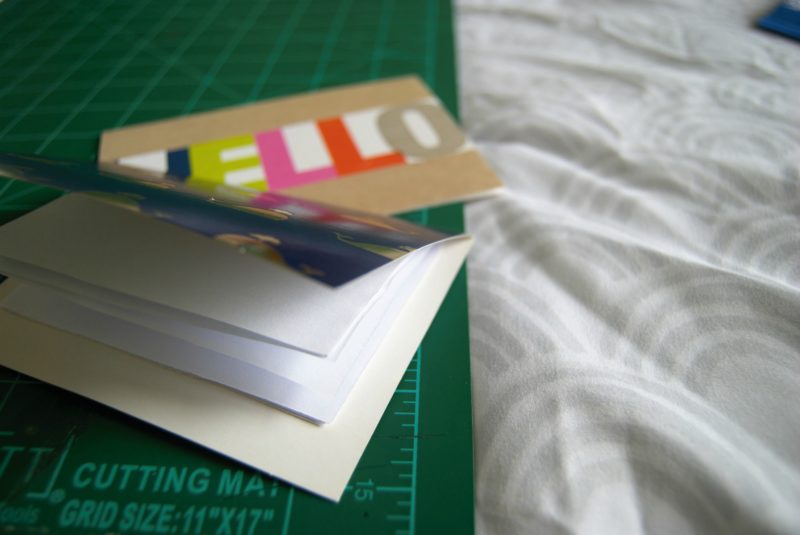
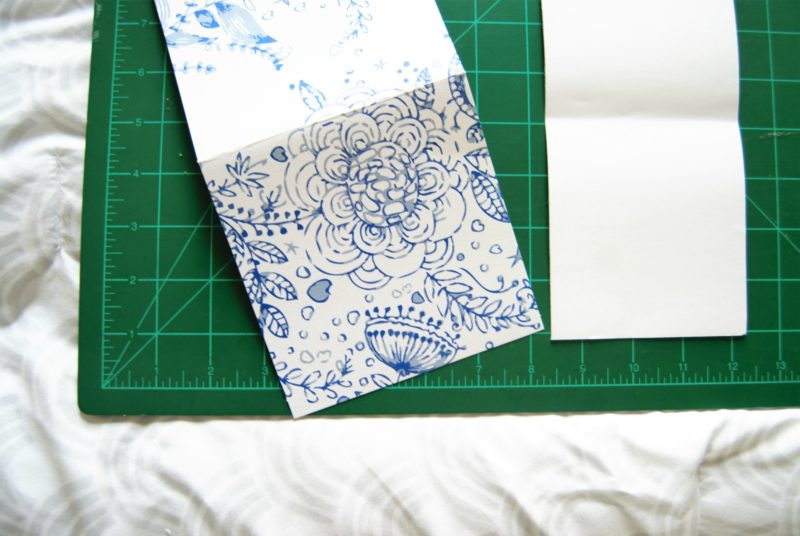
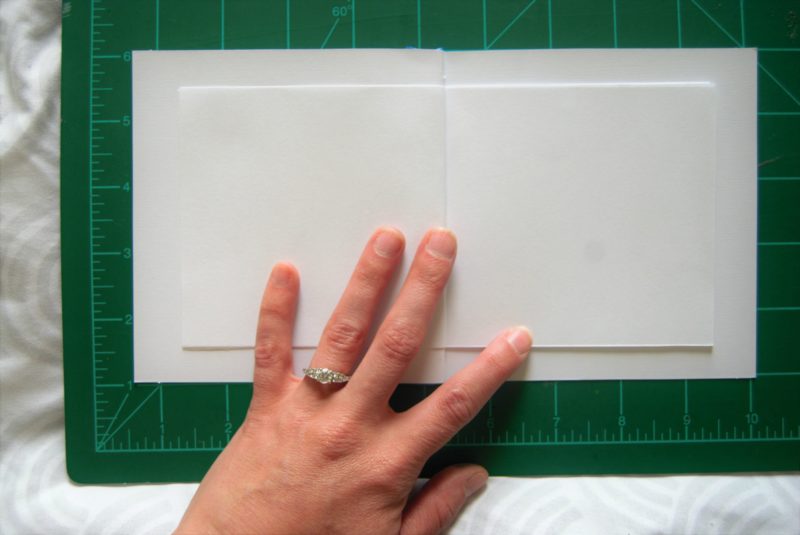
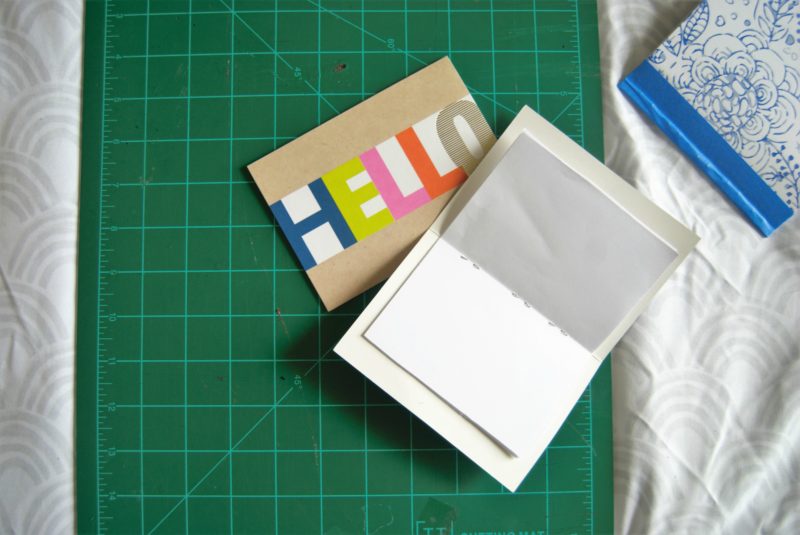
First you need to decide what size you want to inside paper to be. You could make it the same size as the outside of the notebook, but I prefer to make the inside paper a little bit smaller than the outside cover since my toddler likes to draw a little passed the edges of the paper sometimes. It should be noted that I am not one for measuring, so I kind of just estimated the size I needed to cut the paper. I used a paper cutter so that I could cut multiple papers at the same time and it worked out much better than using scissors. I used about 5 pieces of paper so that when folded it would make 10.
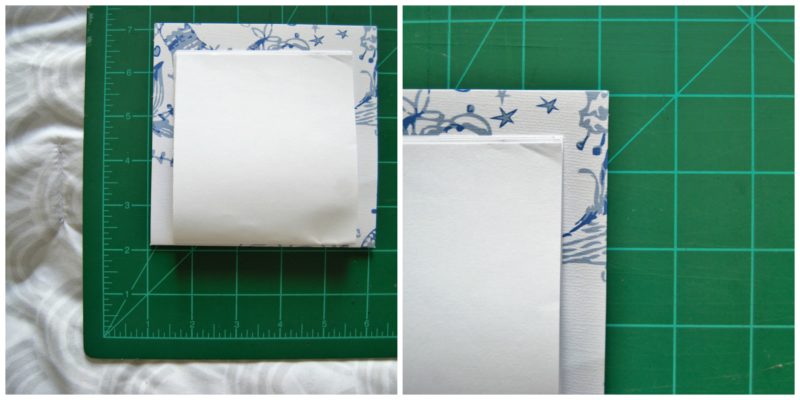
Next you will need to fold your stack of paper in half. Make sure tho go over crease several times. Place the folded stack inside the stationary card with the fold of the stack lined up with the fold of the card. Close the card and hold on to it tightly to keep the papers inside in place.
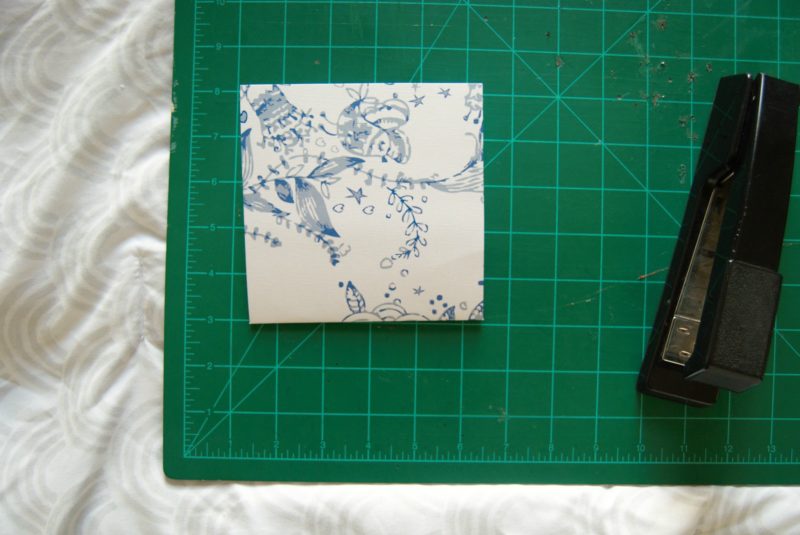
Staple down the fold about a quarter of an inch away from the edge. Try to keep the staples lined up as evenly as possible so that when opening the book the pages will have an even fold (you can see I failed miserably at this)!
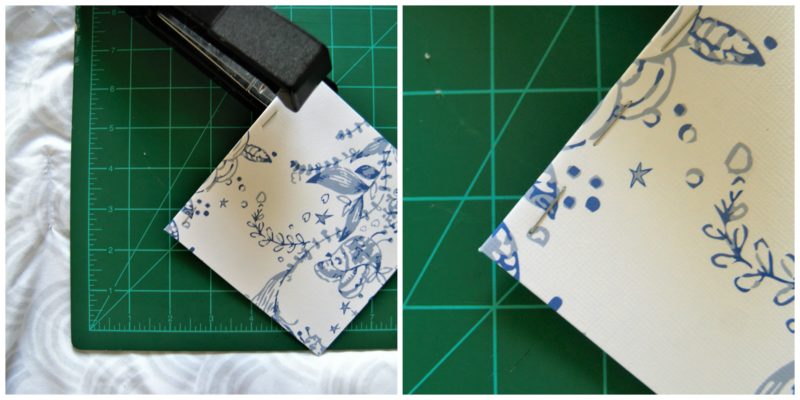
It helps to go through the open book and flatten all of the pages down to make sure that they are even. This will make it easier to use in the future. If you went a little crazy with the stapler, this is when you would be able to notice that you didn’t make a straight line with the staples. Please ignore my less than impressive and in no way manicured hands…
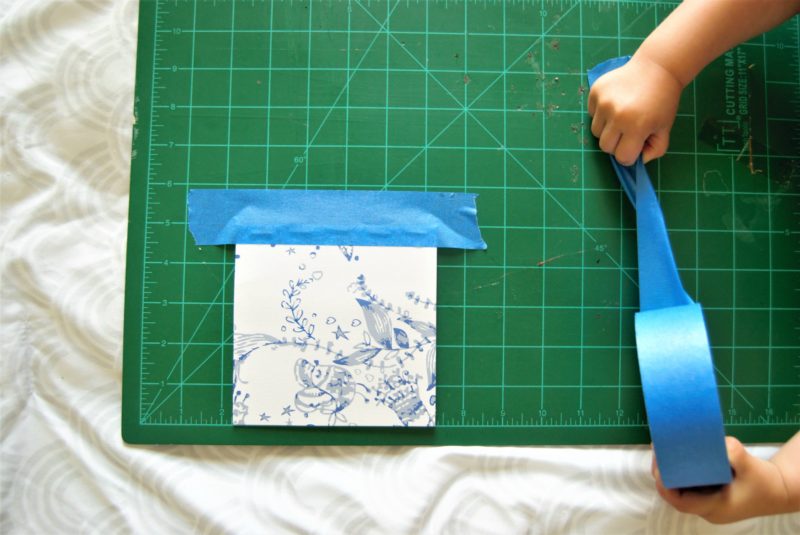
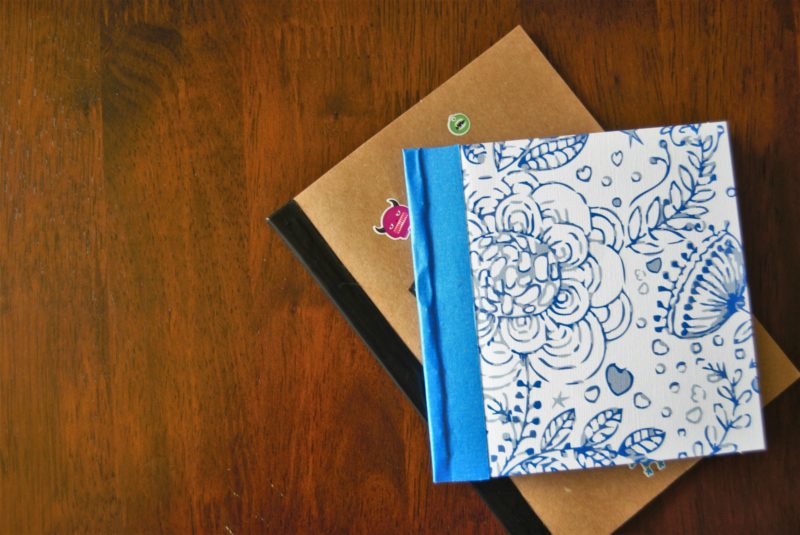
This last step isn’t really necessary but I wanted to cover up the staples. Not only is it a little bit of a safety measure but it helps class them up just a little bit. Now this is the part where most experienced crafters would break out their stash of colorful, bright, and patterned washi tapes. But it may surprise you to know that I own exactly zero rolls of washi tape. You heard me…zero. So I improvised a little and used painter’s tape. For this step you simply line the tape up over the staples and fold it over the edge and then cut off any excess from the ends to create a nice little “binding”. I made the mistake of letting toddler “help” with this part….he looked pretty cute trying though!
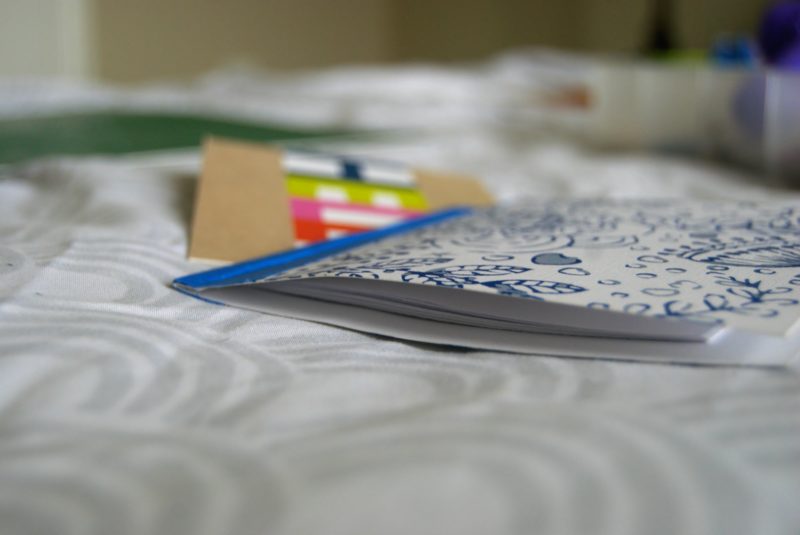
I also had a smaller notecard so I tried a different approach with that one. Since I could reach the middle of the card with the stapler, I decided to just staple from the middle with the card open. This way when the book opens it lies down flat. This style doesn’t require any of the stylish tape down the side to cover the staples, although you could add some for looks if you wanted.
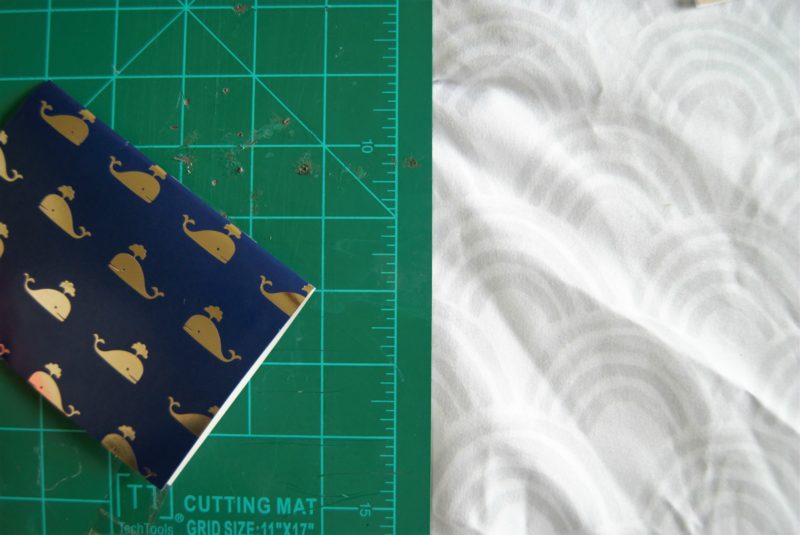
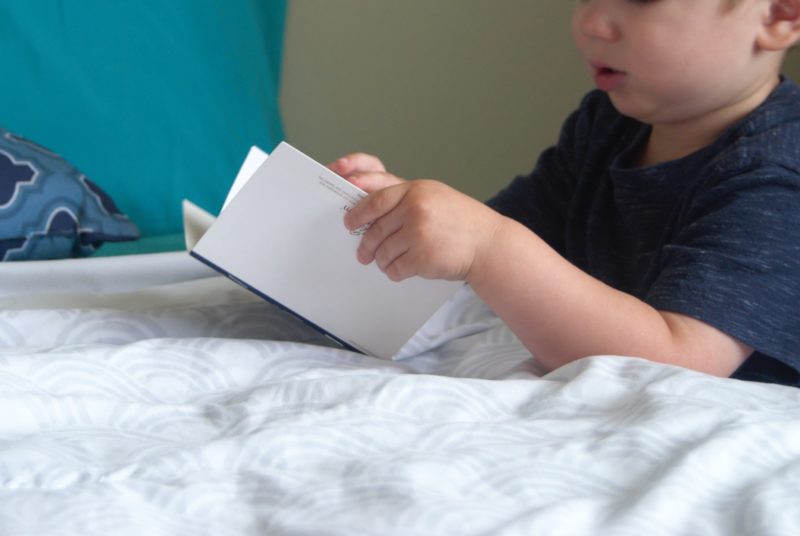
I think they turned out quite nice! And yes that black tape is electrical tape, I like to keep things classy. Pretty resourceful if I do say so myself. Flynn is already pretty fond of the whale book, and he decorated the covers with some nice monster stickers.