

My kid is only a mere 2 year old but already has a fondness for all things Halloween. The kid currently sleeps with a small skeleton and one of those candy bowls with a hand in it next to his bed. I don’t know where he gets it, neither of us parents particularly like scary things. The scariest movie we own is Pirates of the Caribbean. Oddly enough our little guy would rather watch the skeleton pirate parts of the movie on repeat than Finding Dory because Dory is “too scary”. Nothing in the world of a toddler makes sense.
One thing I can get behind is Halloween crafts. Halloween kicks off a great season of what I like to call crafting holidays. I guess being stuck inside for three months makes people creative? Either way, I have no problem making all of the ghosts, spiders and pumpkins little man requests if it involves me being able to break out the glue gun.
This project is one of my go to projects when I can’t think of anything else to make or we are low on crafting supplies. It involves very little and can be adapted for just about any holiday or event. I will warn you ahead of time that if you are working with littler children, you will want to prepare some things ahead of time because everyone knows that a toddler and patience do no go hand in hand. If you have some older kiddos that can work a pencil sharpener, let them help in the prep!
 What you will need:
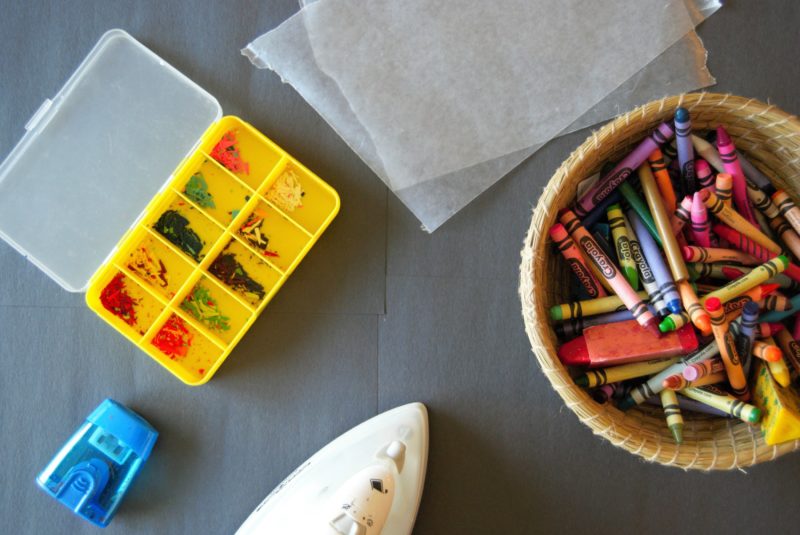
- crayons
- wax paper
- iron
- crayon sharpener (you can also use a knife if you don’t have one)
- 2 dish towel
- packing tape (optional)
- construction paper (optional)
- googly eyes (optional)
- glue
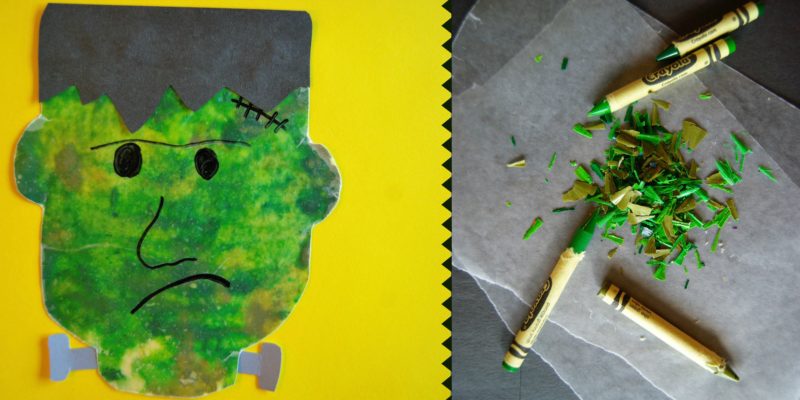
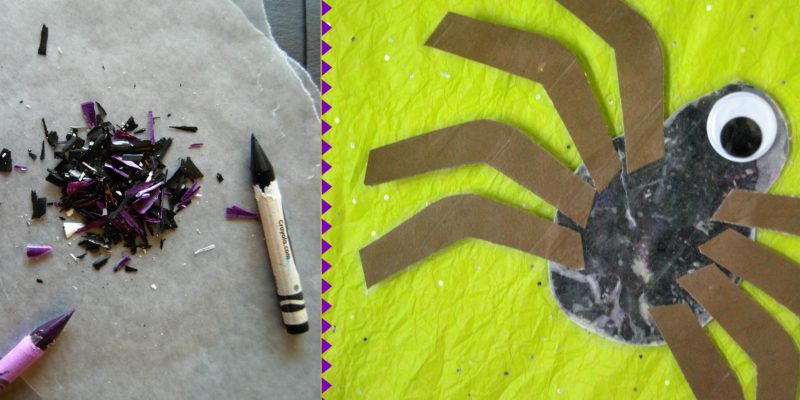
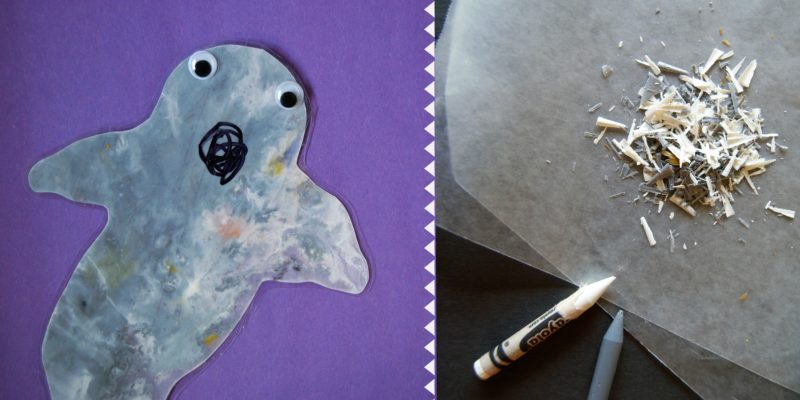
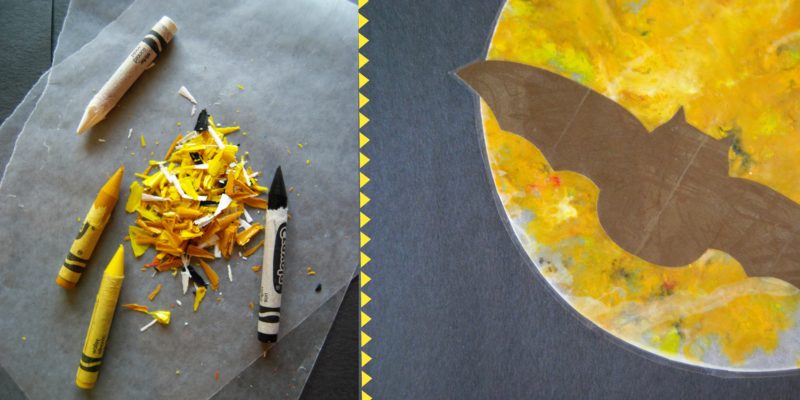
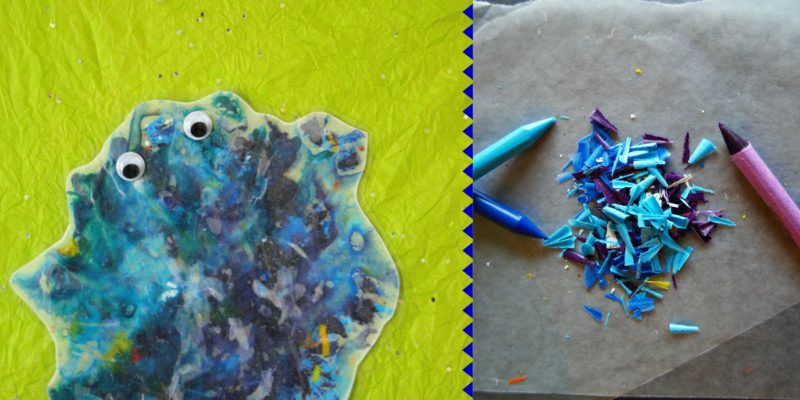
First things first. Get your iron ready. I usually keep mine on the setting for cotton since the actual ironing part is done on dishtowels. Next you are going to need to peel all of the paper off of your crayons. This is a good project for all of those used and broken crayons that tend to accumulate over the years. Once the paper is off you are going to want to sharpen the crayons to get your wax shavings. If you don’t have a crayon sharpener you can make shavings with a knife. Just make sure you are careful and don’t let the kiddos do it.
Usually when doing wax melted project, we just mix the colors all together, but for this project I kept them separate. I did mix several different shades of the same color together, just to give it a little more pop. You can always mix more colors together later.
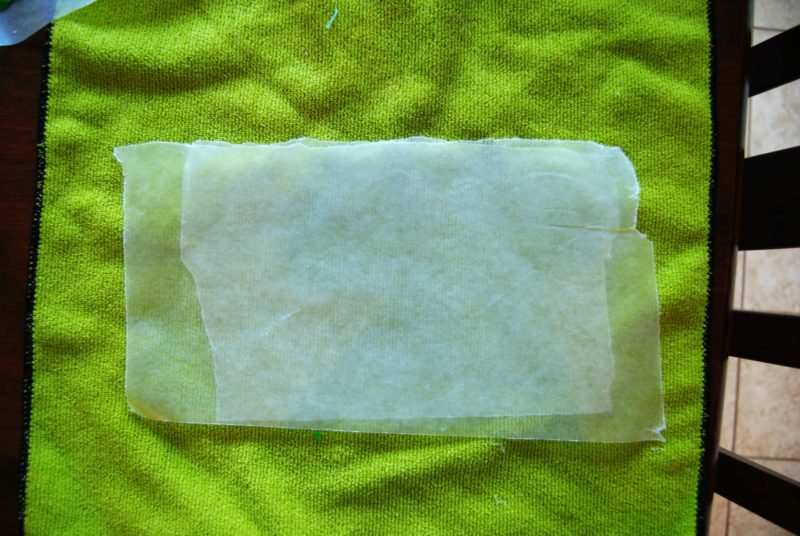
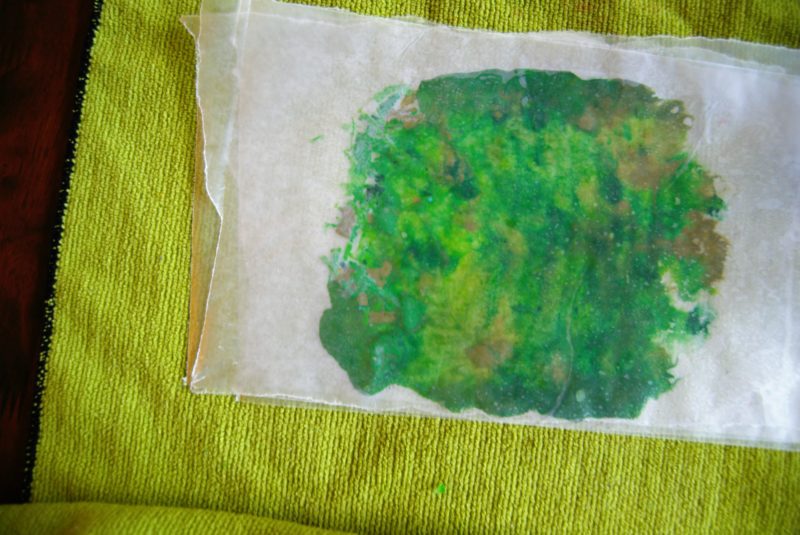
Lay out a dishtowel on a flat and hard surface. Get out two sheets of wax paper and place them on top of each other, keeping in mind how large you want your project to be and taking in to account that the wax will melt and spread a little. Once you have two sheets on top of each other place them on top of the towel. You are going to want something under the wax paper so it doesn’t melt to whatever surface you are working on.
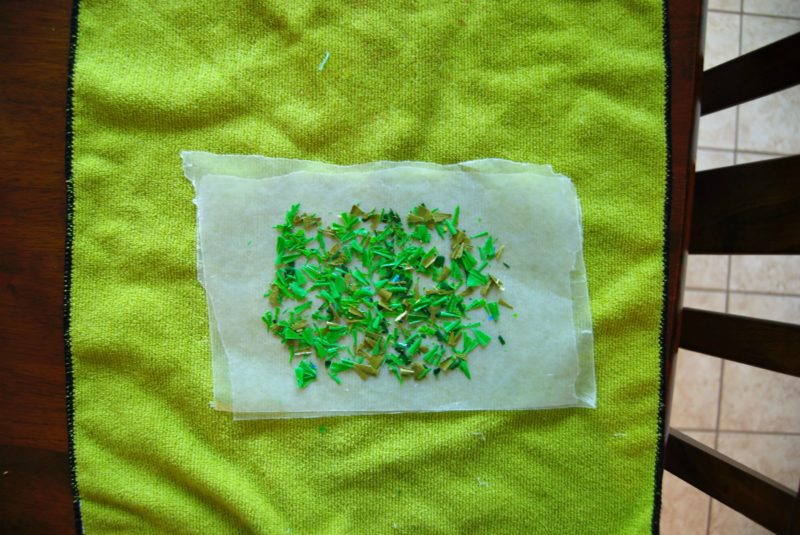 Once the sheets are on top of the towel, sprinkle the colors your want on to the paper. A little wax will go a long way, you don’t have to have the entire area completely covered with shavings.
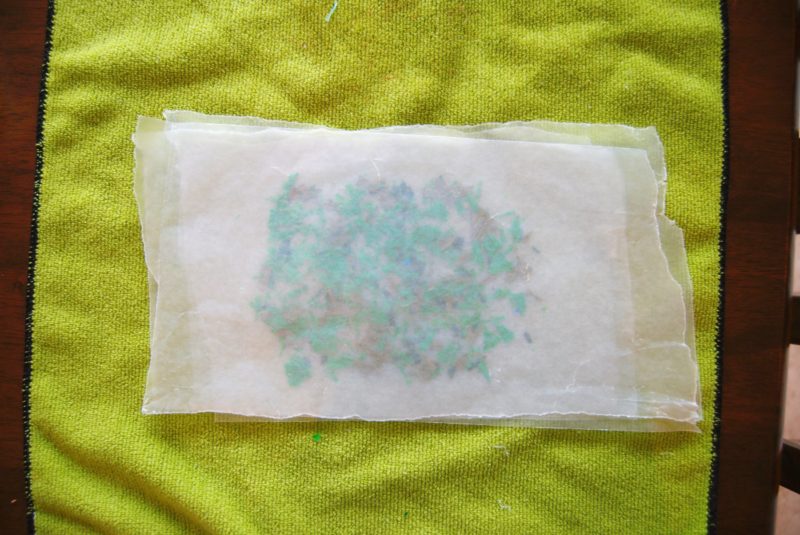 Once you have your desired and approximate color layout, take two more sheets of wax paper and place them on top of the pile of savings. The two sheets on both sides help keep the wax from seeping through the paper.
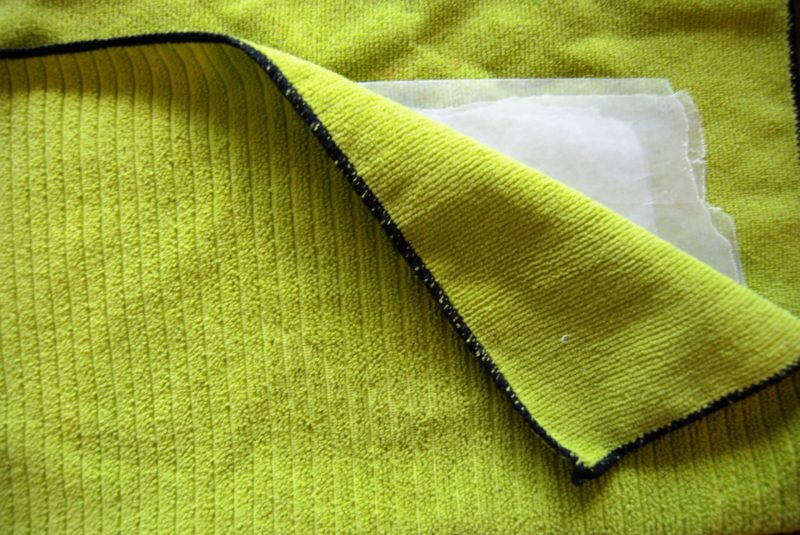 Cover the stack of wax paper with another dish towel and place your iron on top. Moved the iron around slowly but in small circular motion. In some cases you might need to press down a little when you move the iron to make sure that the color spreads to all of the less covered places.
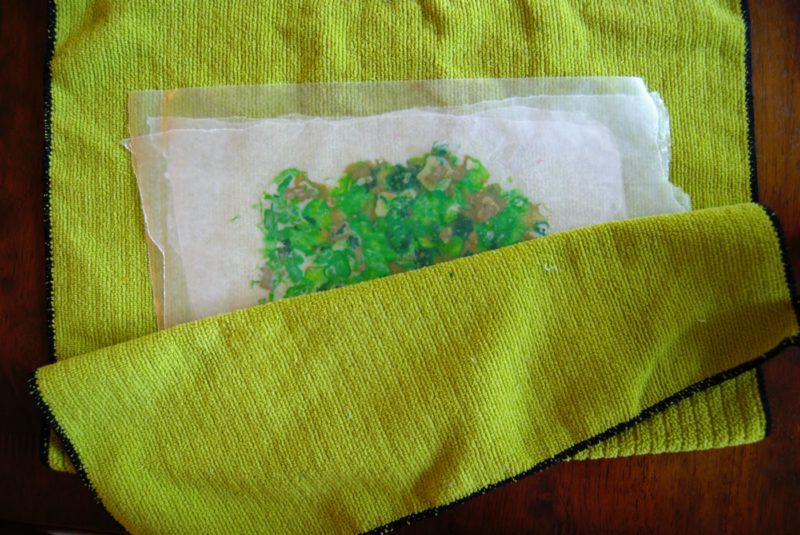 Check under the towel every once in a while to see how the melting is going and to see where you still need to move the iron. Once your crayon shavings are melted remove the iron and set aside the wax to cool off.
 Cooling off should only take a few minutes. At this point you may want to remove the extra layer of wax paper on either side keeping one layer on each side of the melted wax. It isn’t necessary but sometimes the colors seem more vibrant through one layer of wax paper instead of two.
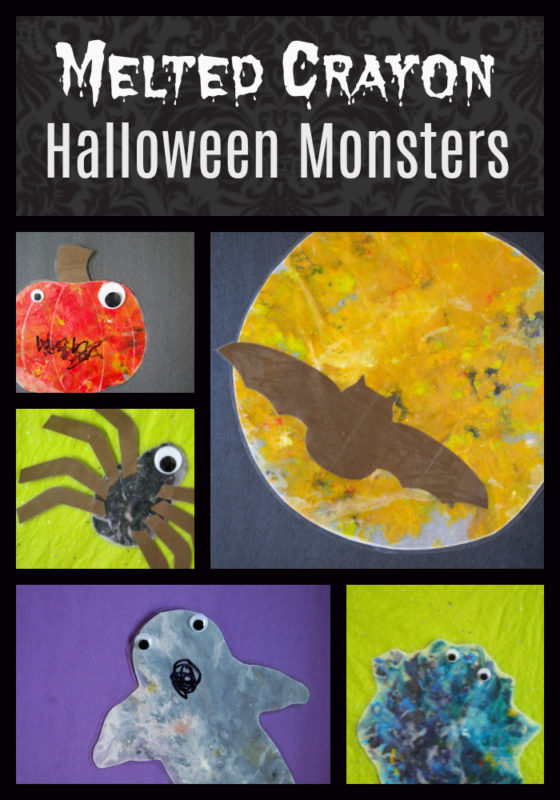
Next you want to cut out the shapes for your Halloween characters from the melted wax. I didn’t use any templates, I kind of free handed and used the shape that it melted into to decide what it would look like. For the moon I found a bowl that I traced around. For the monster I decided to leave him as a blob and just cut off the excess paper around the shape that it naturally made.
Next you will want to get out your paper and cut some legs for your spider, a bat for your moon, and a stem for the pumpkin. Throw on some googly eyes for your ghost, spider, pumpkin, monster and maybe even the moon or the bat if you want.

I wasn’t sure how laminated these would go because of the wax involved. Some laminating machines use heat, and the wax could also break up if it is bent even slightly. I chose to do the cheap version of laminating where I cover the whole thing in a layer of packing tape and then cut around it. It seemed to work out just fine, although it did take a significant amount of time. I would suggest taping off at least the edges of these since you will be cutting shapes into the wax and the edges will no longer be sealed by the excess wax paper.
In the end, we had several monsters to decorate our little guy’s door for Halloween and he was super excited that he got to help! The best part is that this project can be adapted into almost anything, I almost turned the green into a witch, but I thought Frankenstein’s monster usually get left out.