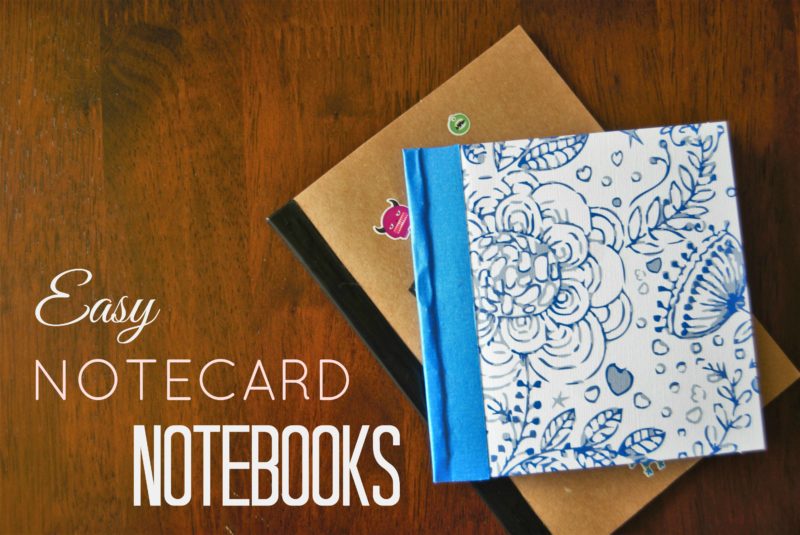
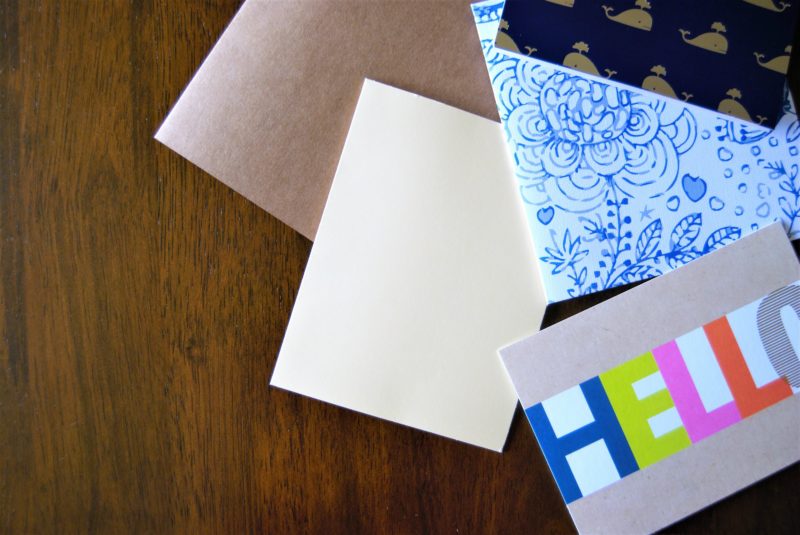
Notecard Notebooks

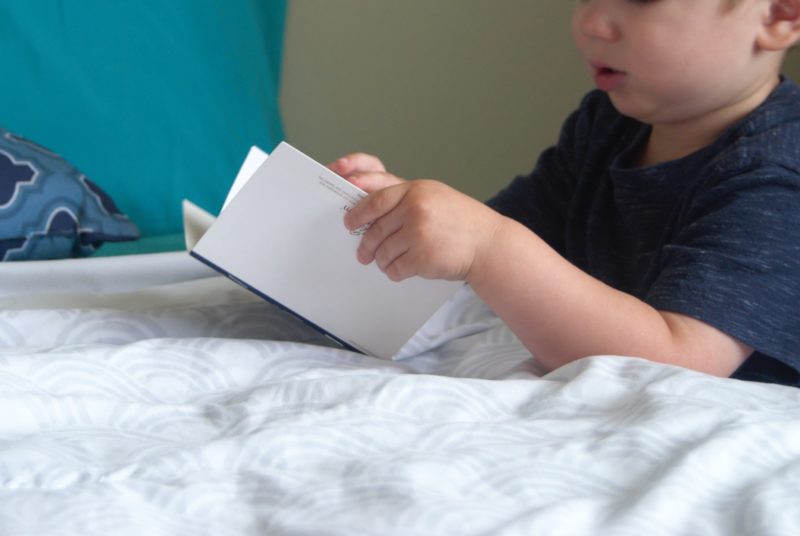
The other day my little guy was watching an episode of Blues Clues and they were talking about story time and books.  By the end of the episode they had made up a story about the things they did that day while playing the game of Blues Clues.  For the rest of the day my little man was making up his own stories (although in all honestly I had no idea what he was saying).  I wanted to make a little book for him that he could put his own “stories” down so he could “read” them.  Now, I know he is only two so reading and writing aren’t really his thing yet, but that doesn’t mean I can’t let his little imagination run wild!

Now, making a simple paper book isn’t exactly rocket science.  And it would be just as easy to fold over some plain paper and staple it down the middle.  But I wanted something that looked a little more like a book and was a little more sturdy on the outside.  And it didn’t hurt that I got to use up some of the massive quantities of blank stationary that I had.

I have to say that I loved the way these little books turned out.  They were just the right size for my toddler and they only took me about 5 minutes to make!  The best part is they can be used for so many things!  I have already stashed one in my purse for grocery lists and to-do notes.  I also used to work in a preschool, and if these would be an easy and affordable way to make little books for an entire classroom full of kids.  They can be decorated and personalized and plain paper could easily be swapped out for lined notebook paper.  So many possibilities!

What you need:

  • -blank stationary cards
  • -plain white paper
  • stapler
  • washi tape or any non-clear tape
  • paper cutter or scissor

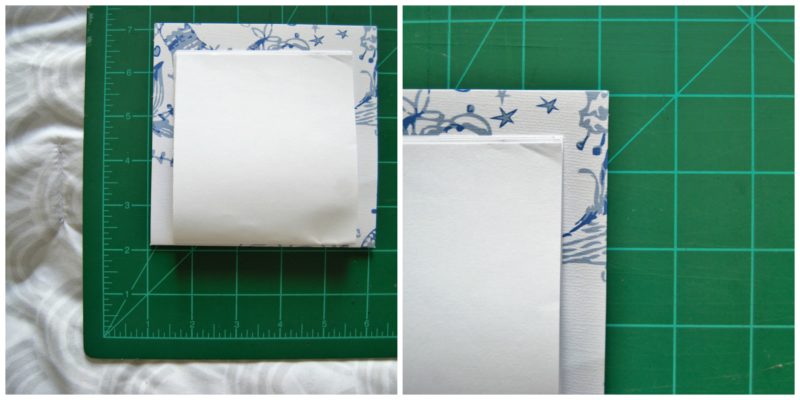
First you need to decide what size you want to inside paper to be.  You could make it the same size as the outside of the notebook, but I prefer to make the inside paper a little bit smaller than the outside cover since my toddler likes to draw a little passed the edges of the paper sometimes.  It should be noted that I am not one for measuring, so I kind of just estimated the size I needed to cut the paper.  I used a paper cutter so that I could cut multiple papers at the same time and it worked out much better than using scissors.  I used about 5 pieces of paper so that when folded it would make 10.
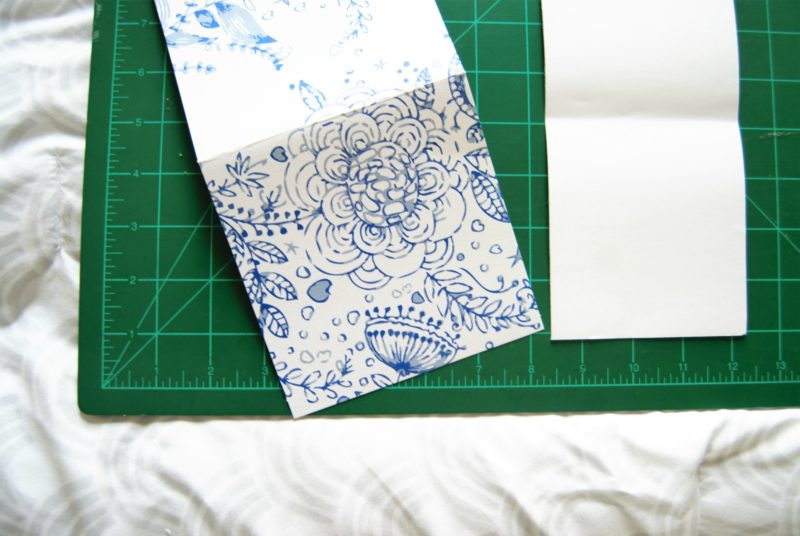
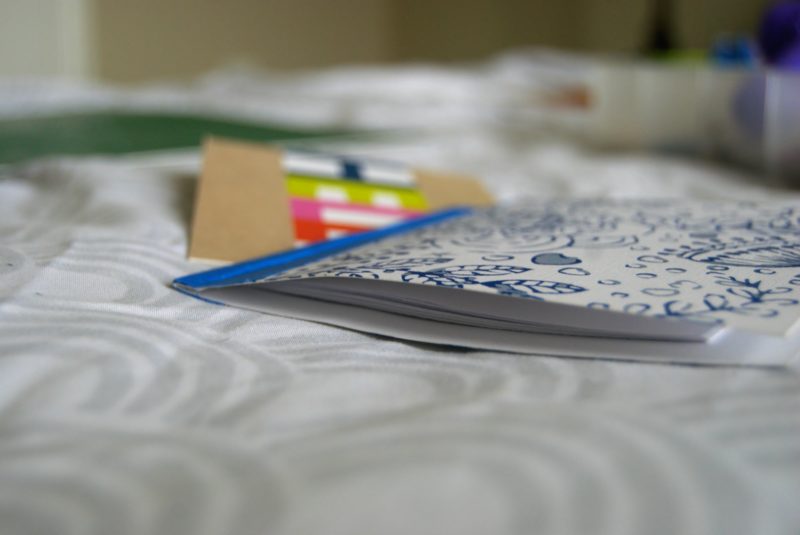
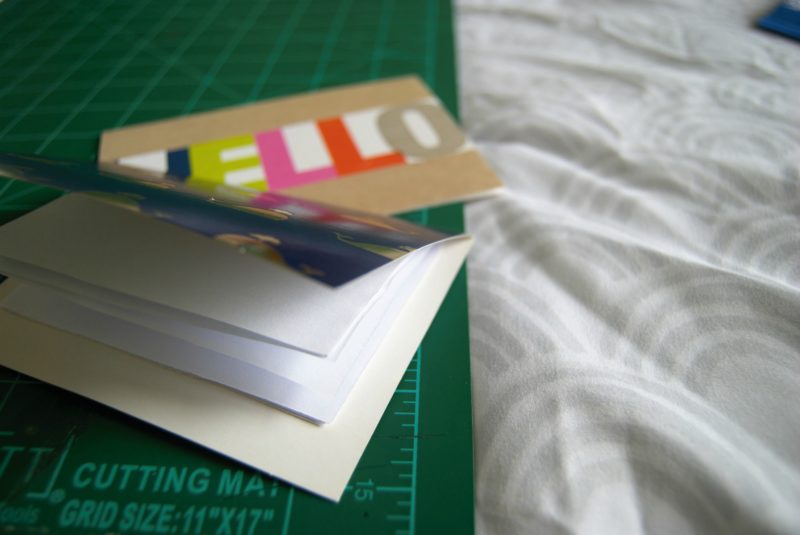
Next you will need to fold your stack of paper in half.  Make sure tho go over crease several times.  Place the folded stack inside the stationary card with the fold of the stack lined up with the fold of the card.  Close the card and hold on to it tightly to keep the papers inside in place.
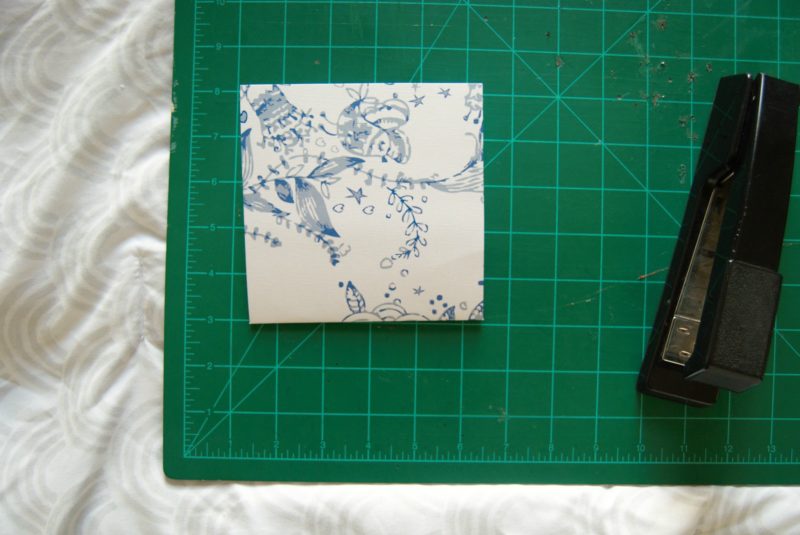
Staple down the fold about a quarter of an inch away from the edge.  Try to keep the staples lined up as evenly as possible so that when opening the book the pages will have an even fold (you can see I failed miserably at this)!
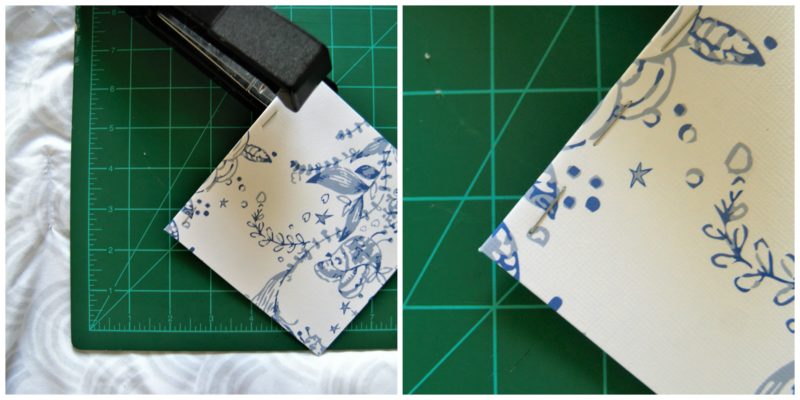
It helps to go through the open book and flatten all of the pages down to make sure that they are even.  This will make it easier to use in the future.  If you went a little crazy with the stapler, this is when you would be able to notice that you didn’t make a straight line with the staples.  Please ignore my less than impressive and in no way manicured hands…
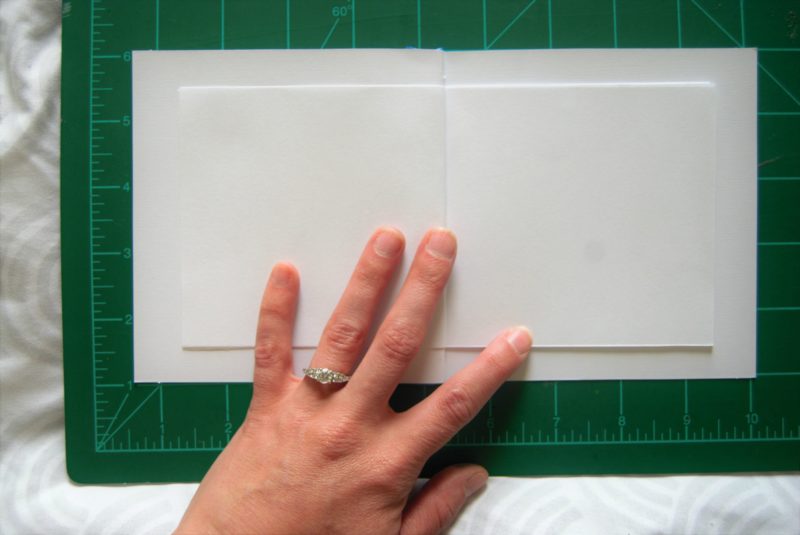
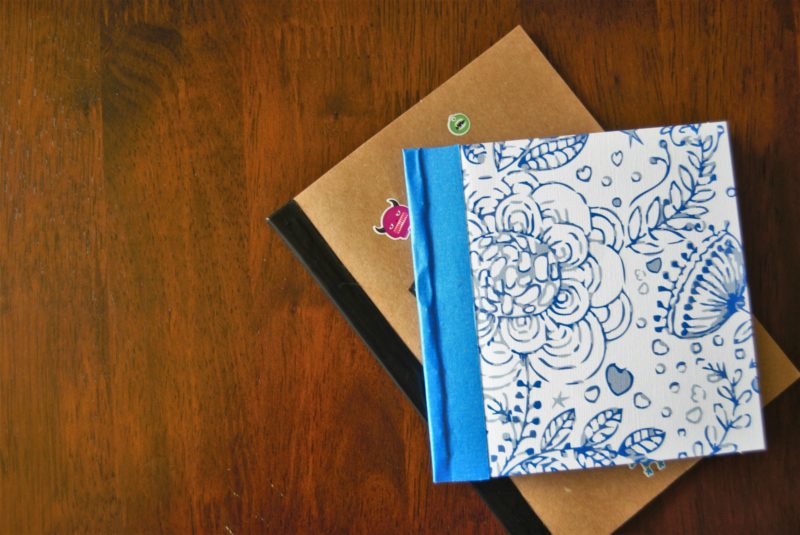
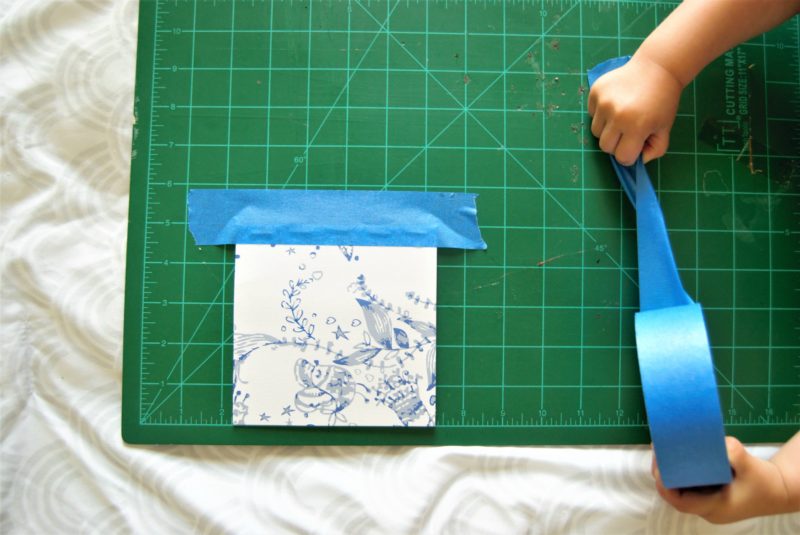
This last step isn’t really necessary but I wanted to cover up the staples.  Not only is it a little bit of a safety measure but it helps class them up just a little bit.  Now this is the part where most experienced crafters would break out their stash of colorful, bright, and patterned washi tapes.  But it may surprise you to know that I own exactly zero rolls of washi tape.  You heard me…zero.  So I improvised a little and used painter’s tape.  For this step you simply line the tape up over the staples and fold it over the edge and then cut off any excess from the ends to create a nice little “binding”.  I made the mistake of letting toddler “help” with this part….he looked pretty cute trying though!
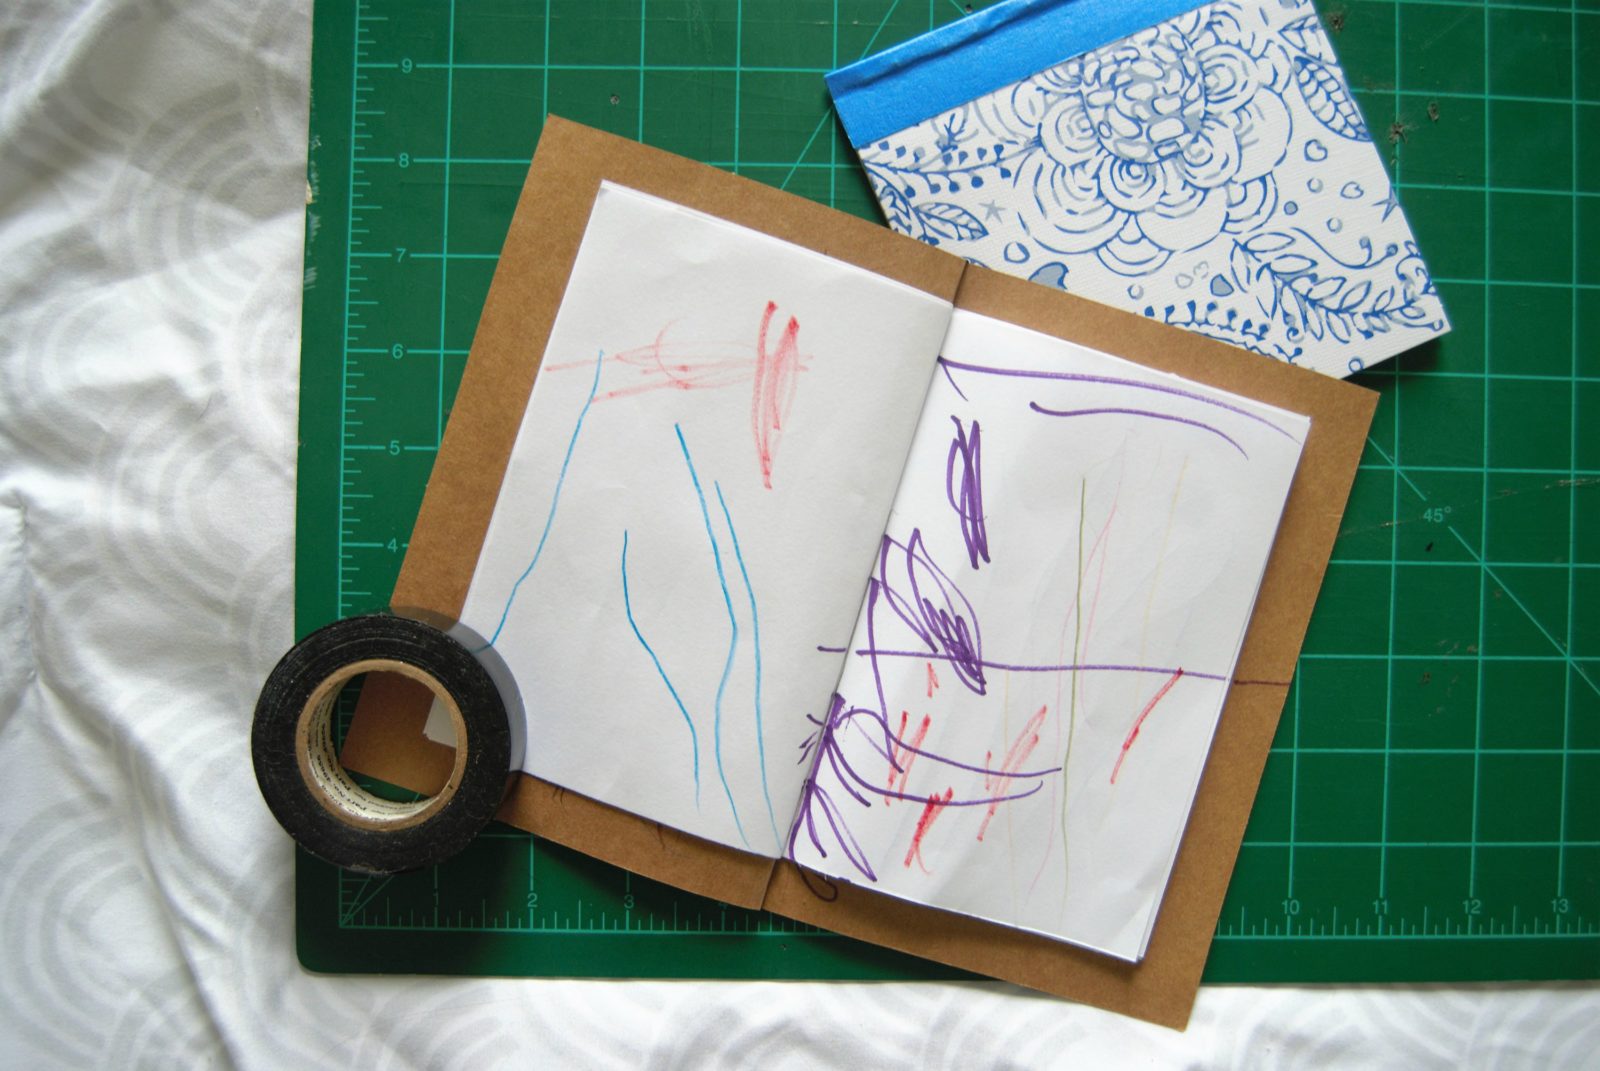
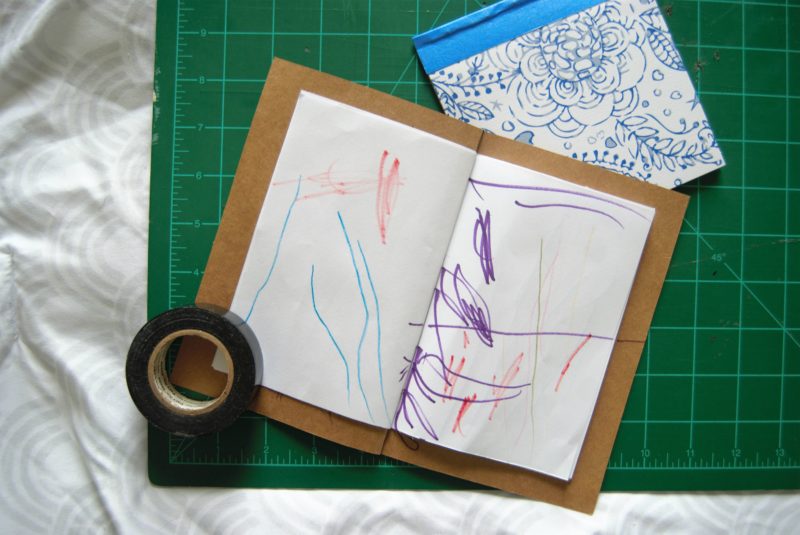
I also had a smaller notecard so I tried a different approach with that one.  Since I could reach the middle of the card with the stapler, I decided to just staple from the middle with the card open.  This way when the book opens it lies down flat.  This style doesn’t require any of the stylish tape down the side to cover the staples, although you could add some for looks if you wanted.
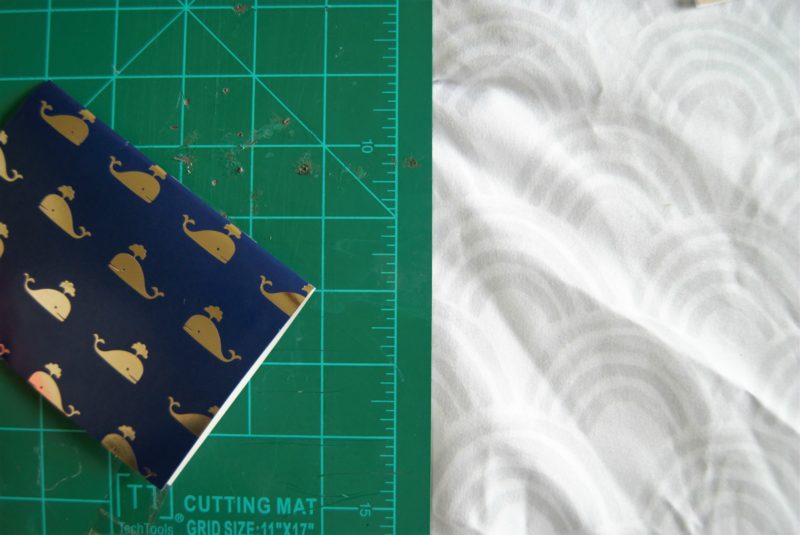
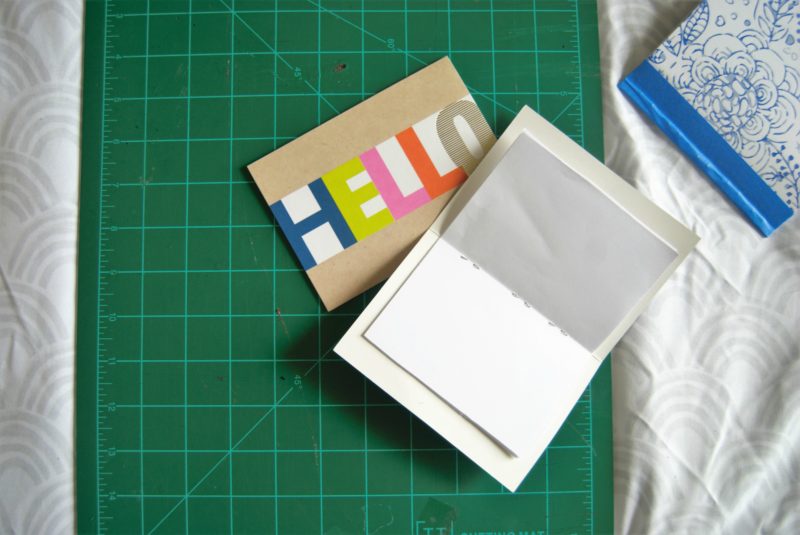
I think they turned out quite nice!  And yes that black tape is electrical tape, I like to keep things classy.  Pretty resourceful if I do say so myself.  Flynn is already pretty fond of the whale book, and he decorated the covers with some nice monster stickers.
Recycled Paper Beads

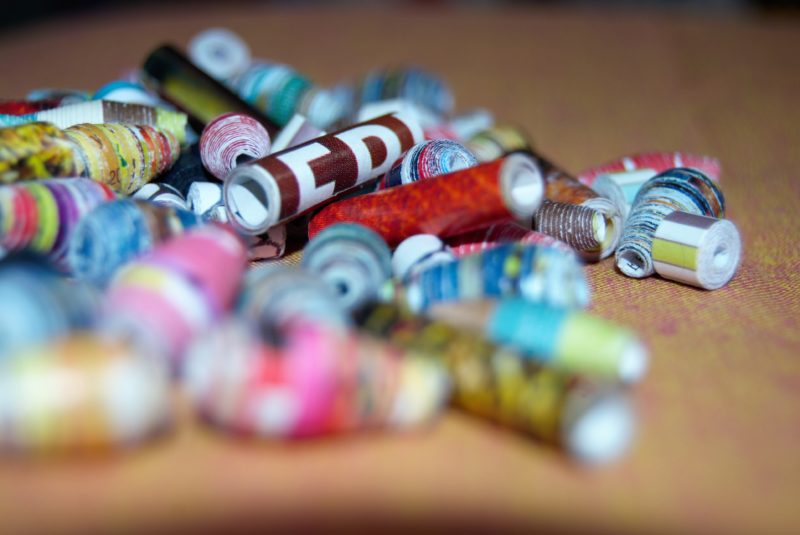
Out of all of the jewelry I have made, I definitely get the most compliments and questions about pieces made with paper beads.  The best part is that they are practically free to make and incredibly easy.  I once had someone that I didn’t know very well for our office Secret Santa and I made a stack of bracelets in her favorite color, and she absolutely loved them!  The homemade beads definitely added a more personal touch instead of just buying the bracelet and it was so simple to do.  I have experimented with a few shapes and paper styles ( I even tried aluminum foil once!) and have come up with some pretty awesome beads to show off.  Jump below the pictures for instructions and tips and tricks for each style of bead!


DSC_0208

ladybeads

cyllindersmall

What You Need:

  • scissors or exacto knife or a paper cutter
  • glue
  • ruler
  • toothpick (optional)
  • cutting mat (optional)
  • Dishwasher Safe Mod Podge (Optional)


How to Make:

  1. Cut some paper!  I pretty much never follow a set template.  I lack the patience for tracing and measuring things out.  If you are using scissors though, it might be helpful to measure out and draw lines down your paper before cutting.  I usually use a paper cutting board and just line up my paper on the ruler as I go.  Or if you like the idea of randomly sized beads, go ahead and freestyle it!
  2. Once you have cut some strips of paper you want to begin rolling the paper, starting with the widest end.  When I first started making the beads I would roll the paper around a toothpick. This helps keep the threading hole uniform on all of the beads.  Now I usually just roll them with my hands after I get the end started and I tighten it once the bead is completely rolled.  Its a little hard to explain but you will see how to tighten them once you actually get one finished.
  3. Once you have your bead tightly rolled up, you want to place a tiny do of glue right on the tip of the strip of paper and push it down on to the bead.  Its ok if there is excess glue, I actually like to kid of spread it around the bead just as an extra precaution.
  4. At this point if you want to add a finish to the bead you can, I have tried using Mod Podge and it is my favorite cover so far.  I usually do them one bead at a time, but I have seen it done where you put all the beads on a string and spray a finish on them or dip them.  If you do choose that route, it is very common for the ends of the beads to get stuck to each other which can sometimes cause a little damage.  I have also used kabob skewers and put multiple beads on them to cover with Mod Podge, just make sure the beads have a little space in between them so they don’t stick to each other.
  5. After your beads have dried you can carefully take them off the stick and start crafting with them!

DSC_0222

Large Classic Bead

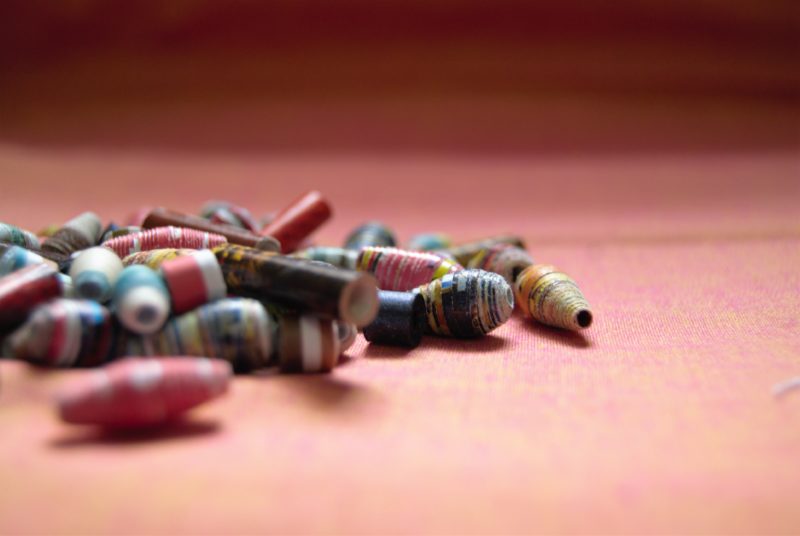
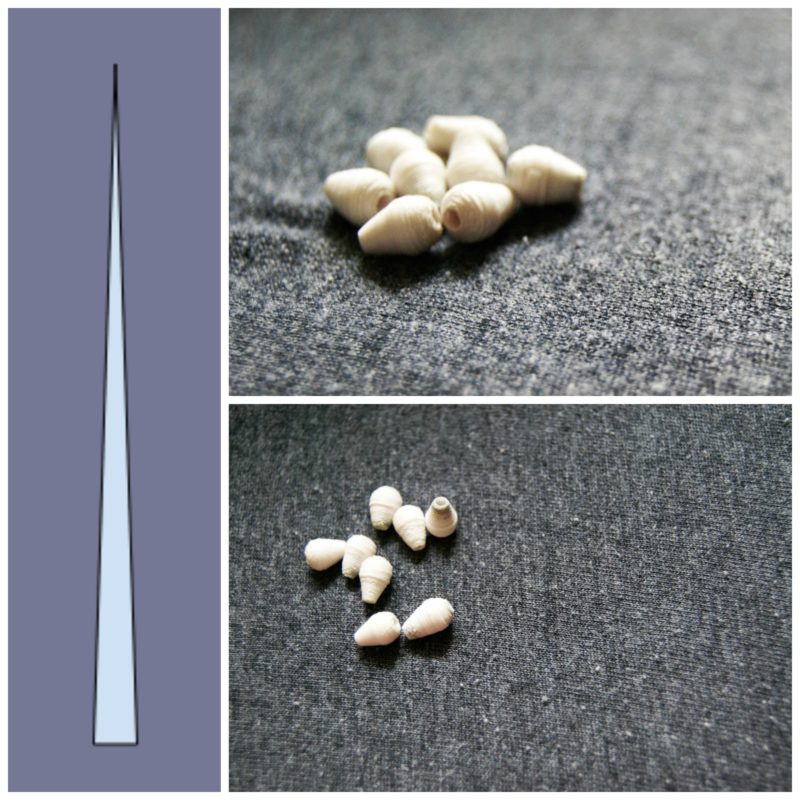
This bead is pretty much the standard paper bead you will see any time paper beads are mentioned.  It is essentially a long stretched out triangle.  I used scrapbook paper for these beads and made the base of the triangle strip about one inch wide. I usually cut my strips going long ways on the scrapbook paper so the strips are around 12 inches long.  If you are using thinner paper you will get a bead that is less round in the center and if you use thicker paper your bead will come out more fatter in the middle.

largeclassicbead


Small Classic Bead

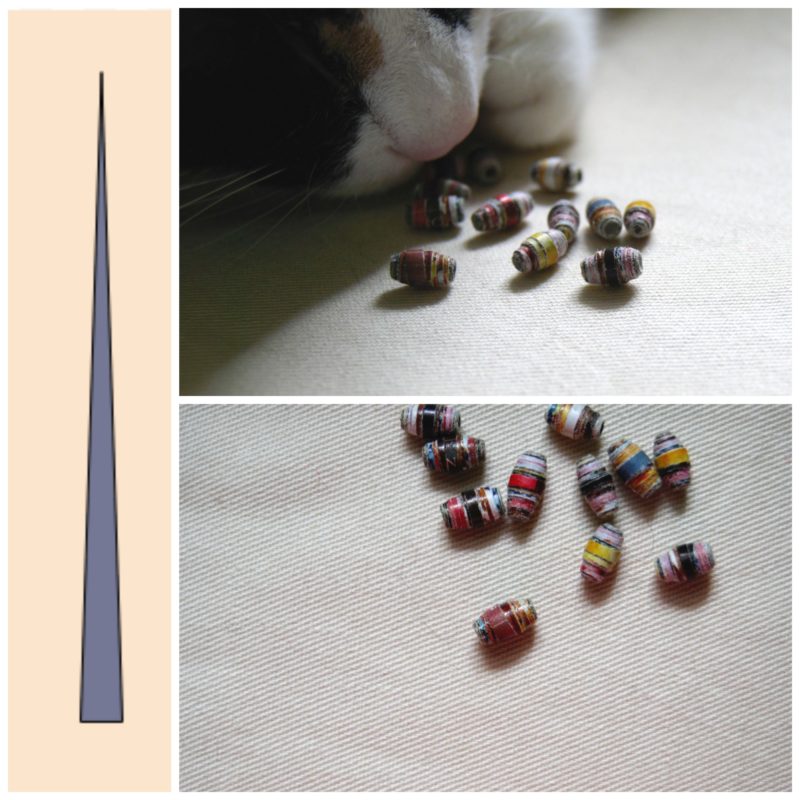
This is just a smaller version of the bead up above. In this version I used magazines as my paper.  I cut the short way on the magazine page for this bead, but I made base of the triangle strip much smaller, around 1cm.  I like my beads to be more sturdy so cutting them with a smaller base helps make the bead more round and stronger, especially since I used thin paper and cut on the short length of the page.

smallclassicbead


Large Teardrop Bead

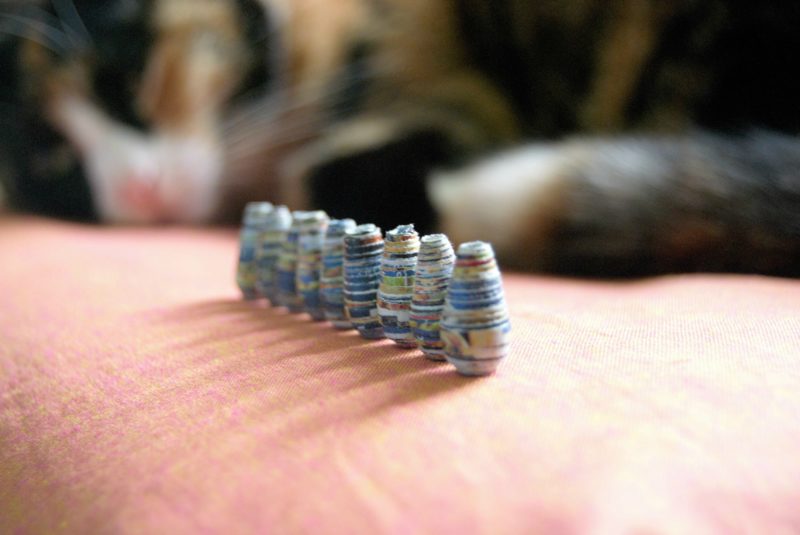
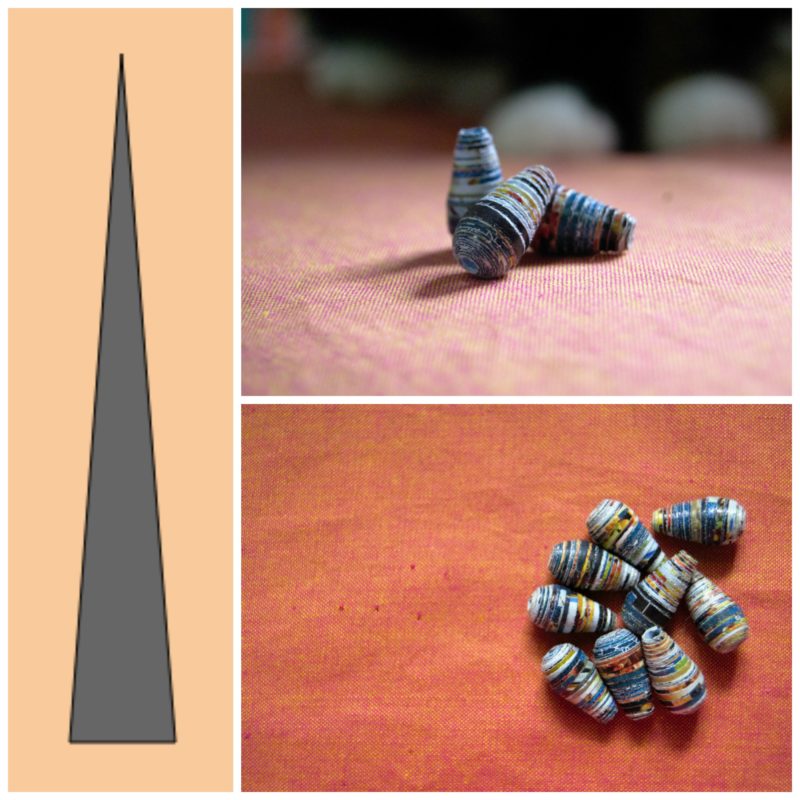
These are probably my favorite style of bead as far as looks go.   I used the same style of triangle cut for these beads as the classic beads and I used a magazine page for the paper.  Once I have the bead rolled and the tip glued down, I carefully pull the fat center down to one side until I get the teardrop shape I want.  If stand the bead up on a table and push the fat center all the way down you can get a cone shaped bead.  After I position the fat part of the bead where I want it, I apply the Mod Podge to keep it in place. I would also suggest if you want a more pronounced shape, to layer 3-4 strips of paper on top of each other and then start rolling.  It will be a little more tricky keeping them together when rolling but the end result is worth it.

largeteardropbead

Small Teardrop Bead

This bead follows the same exact steps as the bead above.  For these beads I used vellum paper, which is in the same aisle as the scrapbook paper.  Its a little thicker and a little less fragile than regular paper.  It is also thicker, so I used the short length of the vellum paper with a 1cm triangle base for these beads.

smallteardropbead

Large Tube Bead

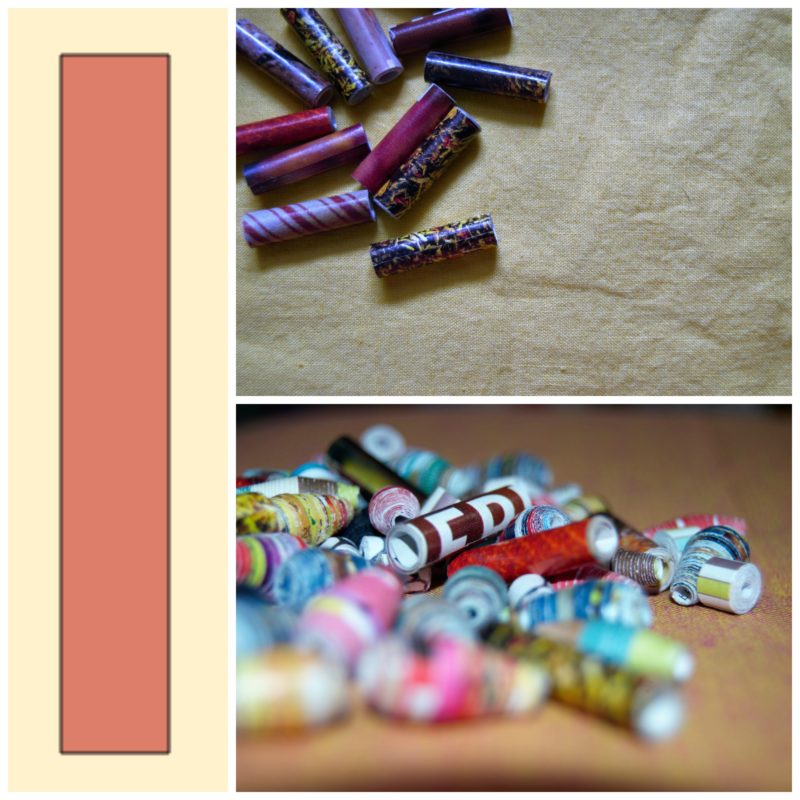
These are the easiest beads to cut and make.  You simply cut a straight strip of paper and roll them up!  Make sure you put glue on the entire length of the edge of the strip once you have rolled it up.  For these I used magazine paper, and I wanted them to be kind of thick so the threading hole is pretty big and the beads are a little less strong since the paper is so thin.

largecyllinderbead

Small Tube Bead

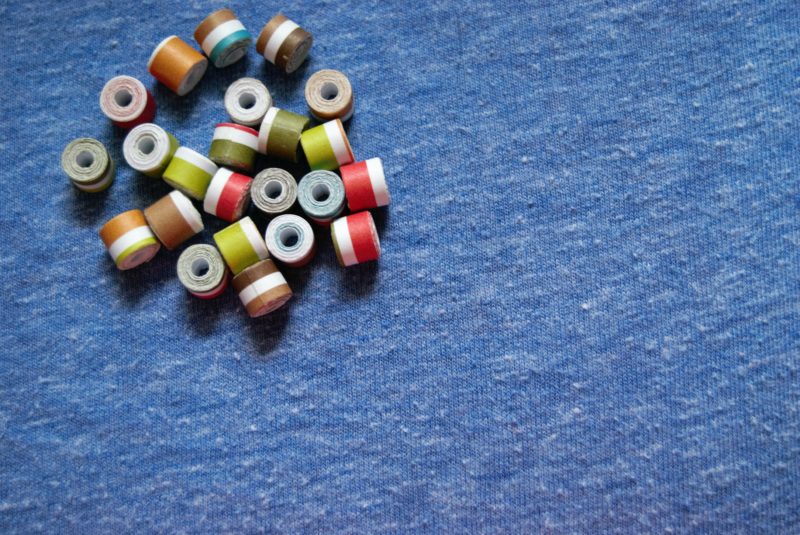
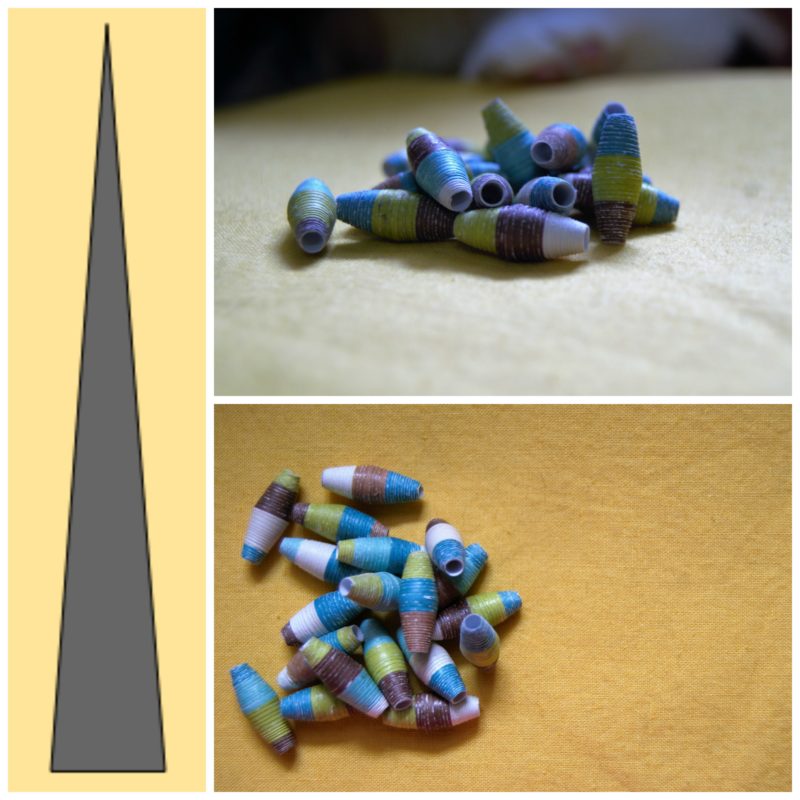
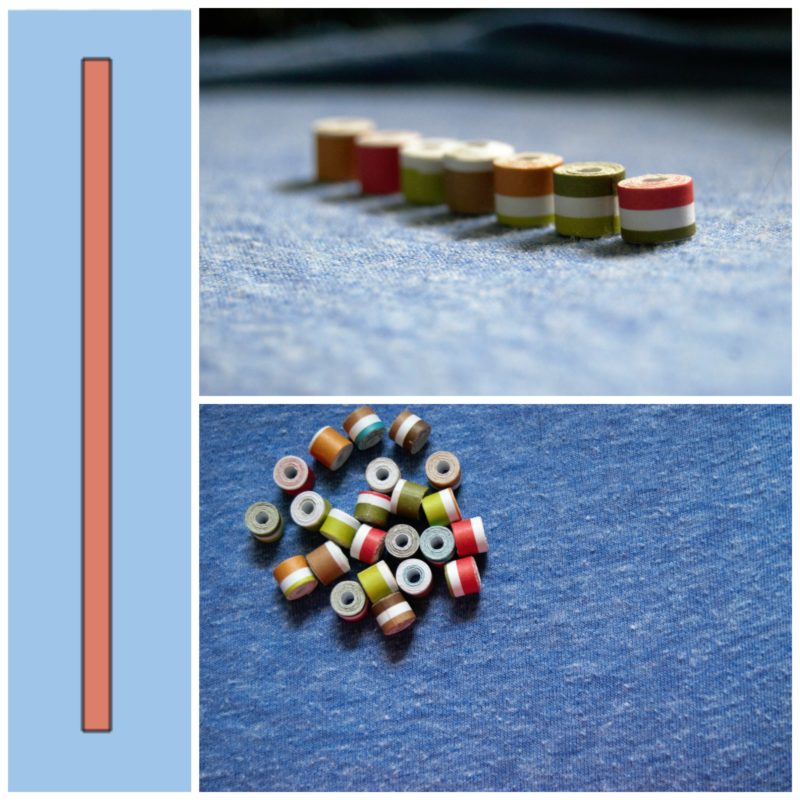
These are made just like the ones up above but I used scrapbook paper.  Because I wanted these beads to be super strong and solid I still cut long ways on the scrapbook paper and made the width of the strip about 1cm wide. If you have a square sheet of scrapbook paper, be mindful of the pattern on the page and how you want the finished bead to look.  With the tube beads you actually see some of the pattern.  I used a striped page for these beads and chose to cut along the strip pattern instead of across it.  If I would have cut across the pattern, the beads would have ended up with a bunch of little bars across them instead of one continuous line all the way around.

smallcyllinderbead

Helpful Tips:

Experiment with all types of paper and sizes to see what works best!  I cut a crazy tiny sliver of paper once to see if I could make a paper seed bead.  It came out great!  But it was a lot more work trying to work with that tiny of a bead so I quit after one…

You can paint the beads!  I have quite a few beads where I paint half of the bead metallic colored.  I have even seen some cool ones where they paint the tips of beads in a silver or gold to make them look like they have metal caps on them.

You can find all kinds of tools online to help roll the beads or you can just roll them by hand which is my preferred method.

And lastly but definitely not least!  I like to put some kind of coating on the beads when I am finished.  It helps make the beads a little more sturdy.  I personally like anything from Mod Podge, and their Dishwasher Safe Mod Podge is currently my favorite for just about any project I do. Even though you might put some type of coating on these beads, they are in no way waterproof, so please don’t go jumping into any pools, lakes or oceans with your new pretty creations on!


Handmade Twine From Scrap Fabric

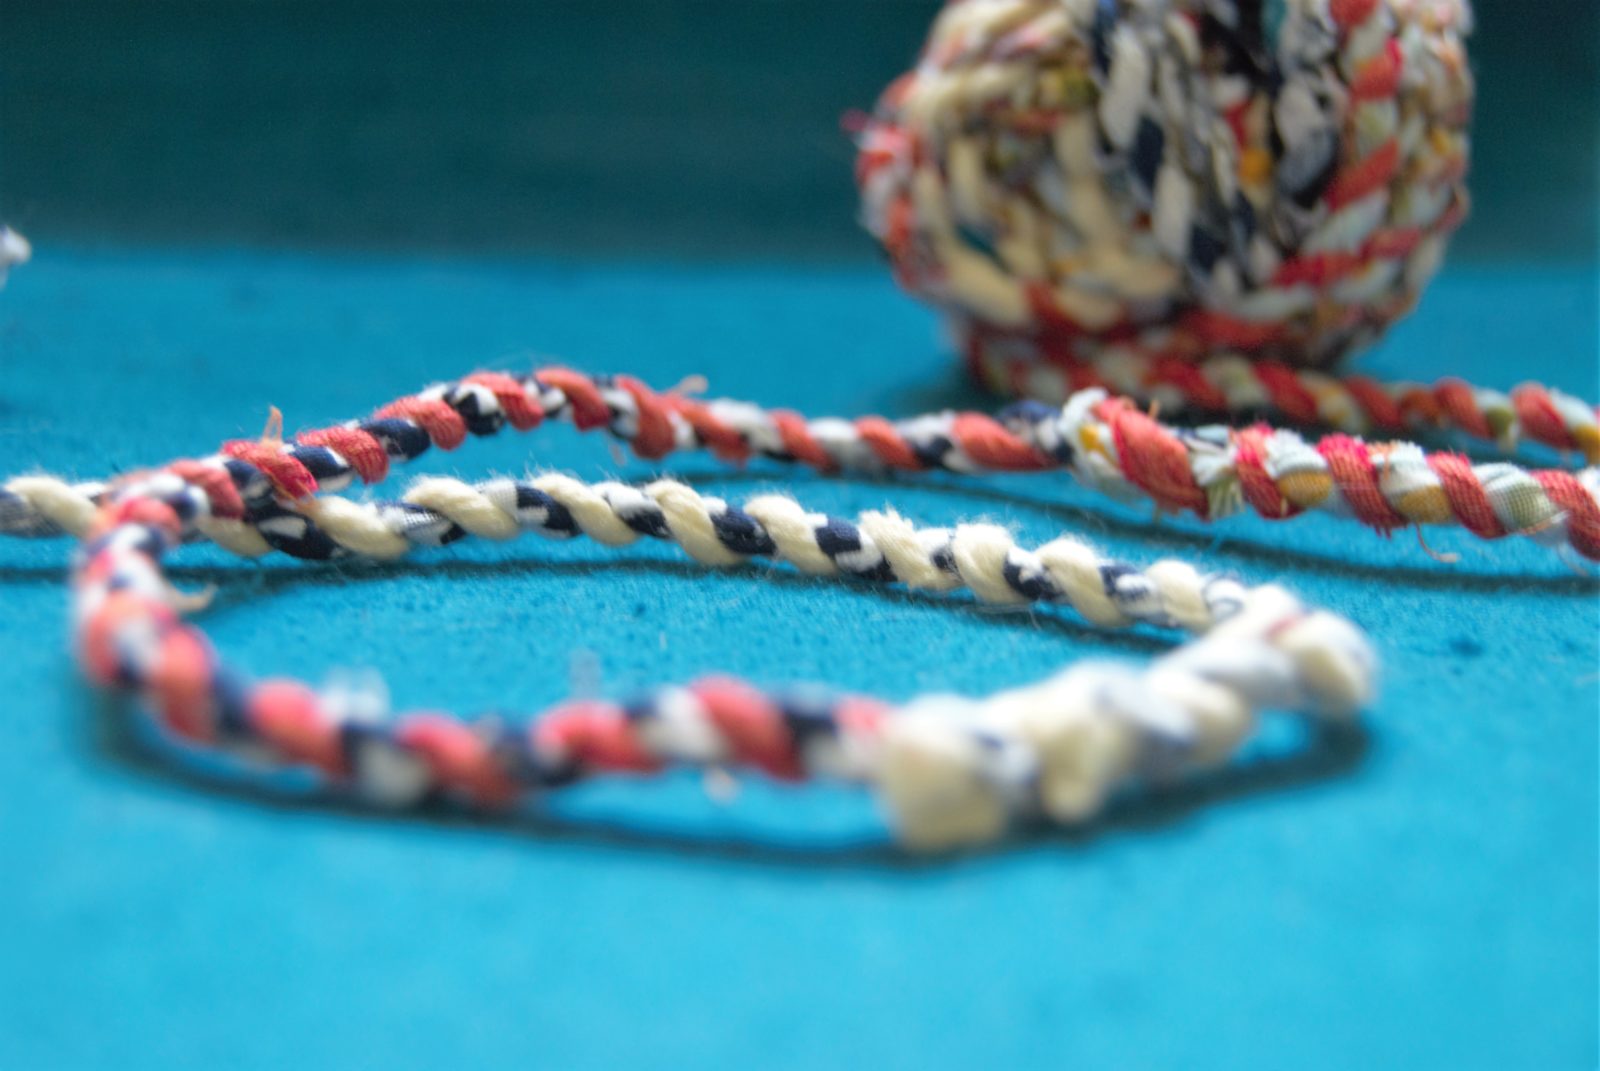
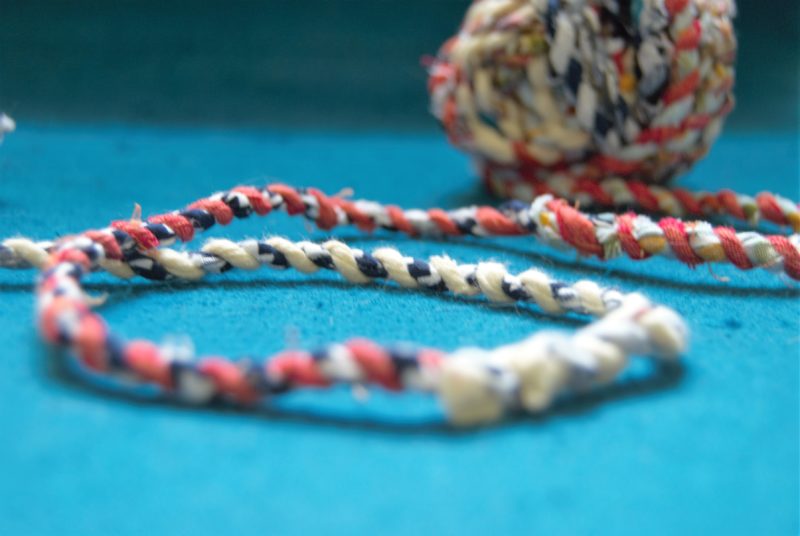
I have a bit of a problem when it comes to hoarding craft supplies, especially fabric.  I can justify keeping even the tiniest shred left from a project.  Unfortunately its hard to organize scraps of fabric neatly, trust me I have tried.  I started searching the internet for ways to put scrap fabric to good use and found that making twine out of these discarded scraps is not only easy, it’s for sale everywhere!  Etsy is full of shops selling this stuff, and I can see why.  It’s so pretty! And since you are recycling fabric that would otherwise go in the trash that makes this a green project.  Everybody wins!  So I set out to try it myself and I have to admit it was way easier than I thought.

DSC_0170
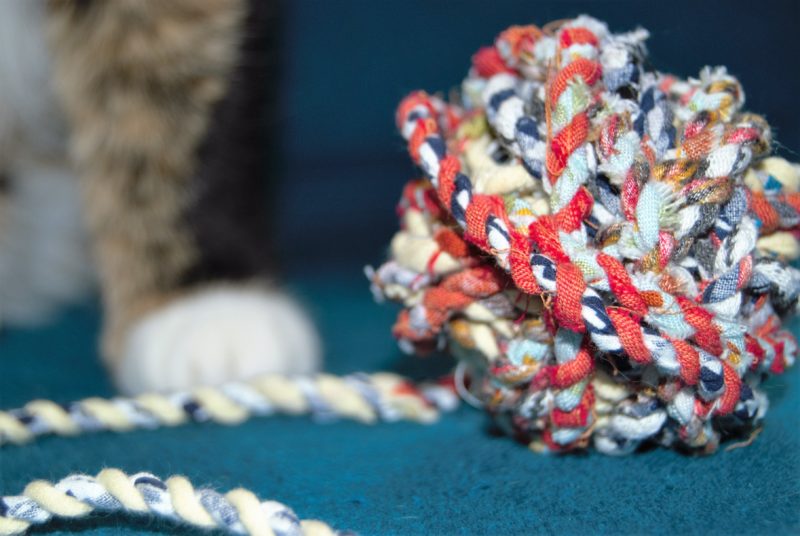
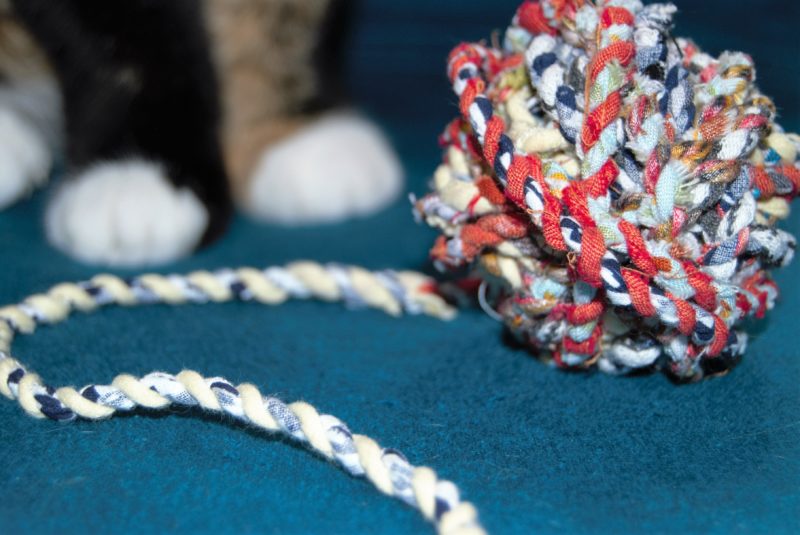
Our cat lady got in on the action

DSC_0111

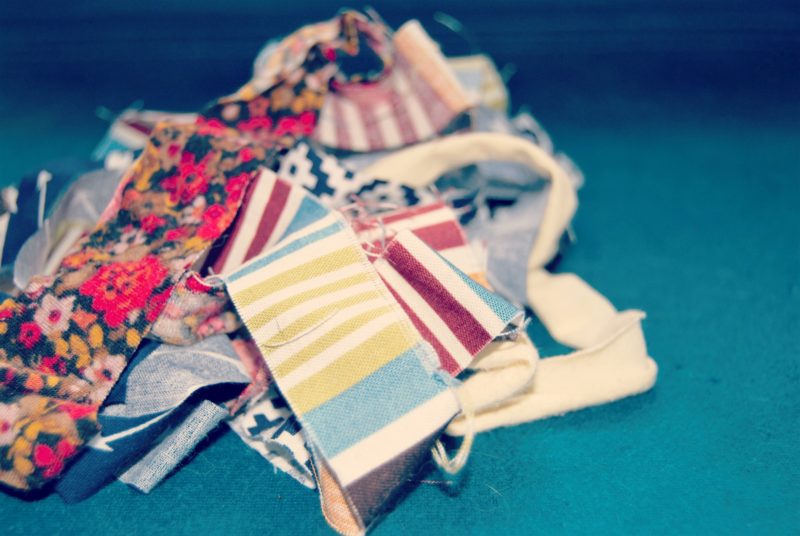
Admittedly this project is very easy and doesn’t require a lot of anything other than time.  And trust me it takes a lot of time.  I made a lot of mine while I was parked in front of the t.v. binge watching Netflix stuff.  The other great thing about this project is that it can go anywhere and it doesn’t really require any tools.  A lot of the time I was just sitting on the floor playing with my son while making it, he loved playing in the pile of scrap strips that I had made.

What You Need:

  • Strips of fabric (about 1 inch wide)
  • pin (optional)

scrapfabric

How to Make It:

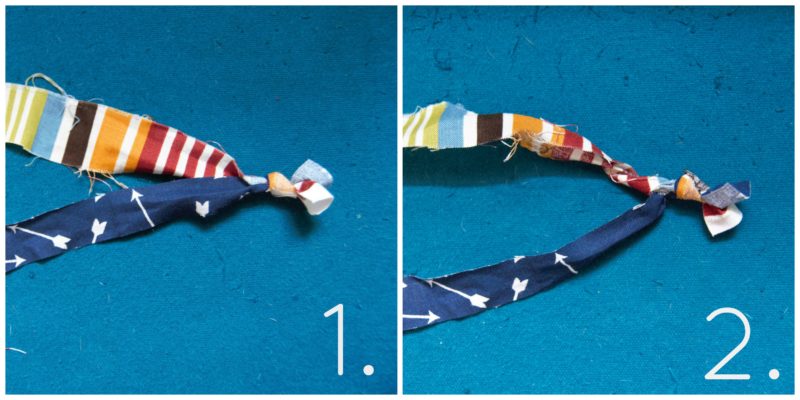
1. The first thing you want to do is grab two strips of fabric and tie them together.  Any old regular knot will work just fine.  You want to make sure that the strips are different lengths so that they don’t run out at the same time.

2. Once you have tied together two strips of fabric, take one and start twisting it towards you. You only need to twist a small amount, but the tighter the twist the better.  Sometimes it helps to twist more than needed just so it stays tight next to the part where both strands will twist together.

fabrictwinsteps1-2

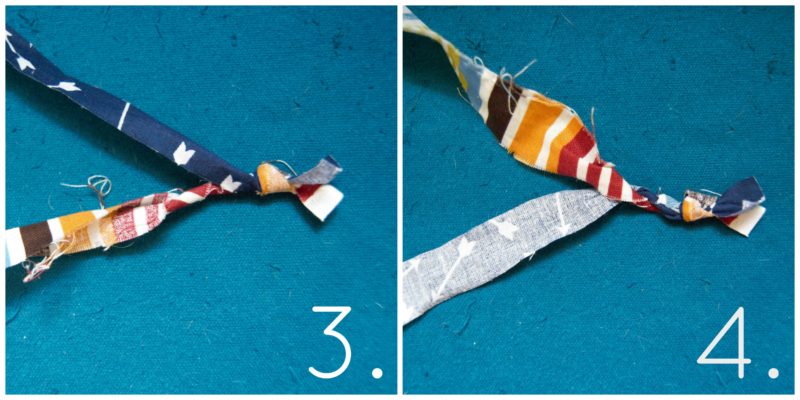
3. Once you have twisted the strand, bring the second strand over the original strand so that it is in front of it. Twist the new strand towards you just like you did with the first one.

4. Once you have twisted the new strand, push it behind the first strand and bring the first strand back in front and start twisting it towards you again.

fabrictwinesteps3-4

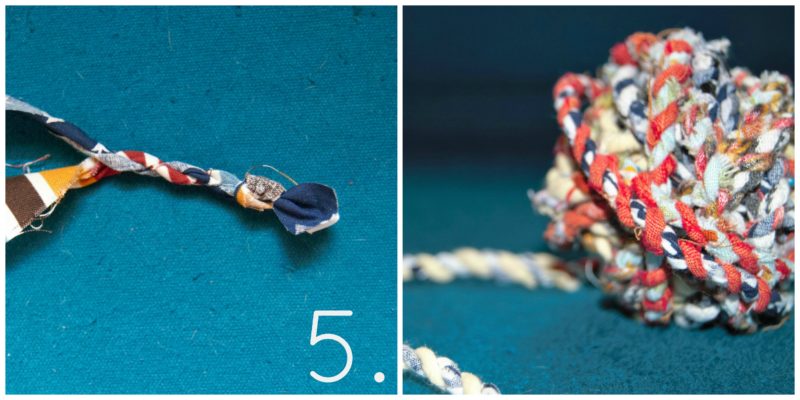
5. Repeat this process over and over until your hands fall off! Unfortunately I couldn’t get a good picture of how to join strands but its super easy.  Once you get down to about 2 inches left on a strand, simply get a new strip of fabric and overlap the ends and twist both of them together towards you.

fabrictwinestep5

A Few Tips:

I put a pin through the knot when I first started and pinned it to an old chair while I while I was twisting the strands, hence the scraggly looking background in the photos. This helped ease up on the cramps that you will probably get while doing this project and it was actually a lot faster than just holding it in my hands.

I noticed that it was easier to twist and work with jersey type fabric or t-shirt fabric.  I liked to mix two types of fabric that way the twine was consistent with its stretch. So I would do a more stretchy fabric with the standard cotton fabric.

Aside from regular crafting fabric, I also made use of old shirts that couldn’t be donated because of rips or holes and they worked out way better than I thought.

When it came to storage, I considered making a cardboard spool and I have seen this twine wrapped around old vintage spools.  I decided that after hand cramps were achieved I just wanted to go the standard ball of yarn style with this pretty twine.  Also I have no spools and I was already spending zero dollars on this project so I decided to keep it that way.

There are no real rules to follow with combining fabric patterns.  It looks cooler if you have two contrasting colored fabrics going together, but I also I also tried mixing patterns and colors that I thought would look awful together and honestly it still looked awesome.

I cut the ends of the strands at a slant so that when joining two strips it would be less bulky in that spot.


Hopefully you will enjoy making this colorful twine as much as I did!  I can’t wait to see what kind of projects will come from it!

DSC_0167