

When I was pregnant with my little guy I happened upon one of those mommy sites with a discussion board. I randomly peeped in on a conversation about must have items for your new addition to the family. Most items seemed pretty basic and nothing was really different from what I had already been told or search for myself online. In the middle of all the suggestions for swings that mimic car rides and all terrain strollers for the fitness junkie moms, I came across the idea of a busy book. She spoke of soft pages of activities like buckles and zippers and velcro shapes all packed into one travel sized book. It sounded perfect, and especially appealing to our family since we traveled around a lot during our kiddo’s first year to show him off to family. Underneath her comment were an endless amount of other moms chiming in about how this was their favorite purchase and was totally worth it. Excited for the prospect of something new to look at I decided to look into it. This helpful mom provided a link to her favorite company that makes busy books and much to my surprise these suckers come out to around $300.00!!!! Ummm…no. I thought it had to be a mistake and that there was no way a book full of zippers and buttons was that much.
A quick trip over to Etsy and I learned that just one page in a busy book can cost anywhere from 10-36 dollars. While I agreed that most of these were adorable, they were also mostly felt. Being the stubborn cheapskate that I am, I decided that I could do it myself. I looked over the web for some cute ideas and loaded my kid up and set out for the craft store. I think I ended up spending around 38 dollars on supplies, and I made around 12 pages and even had some leftover stuff. I actually really enjoyed making them, and I even made two books for babies showers recently. I even made up my own cover to hold all of the pages in, which I will post later when I get a good pattern up. For now I will start with the basics.
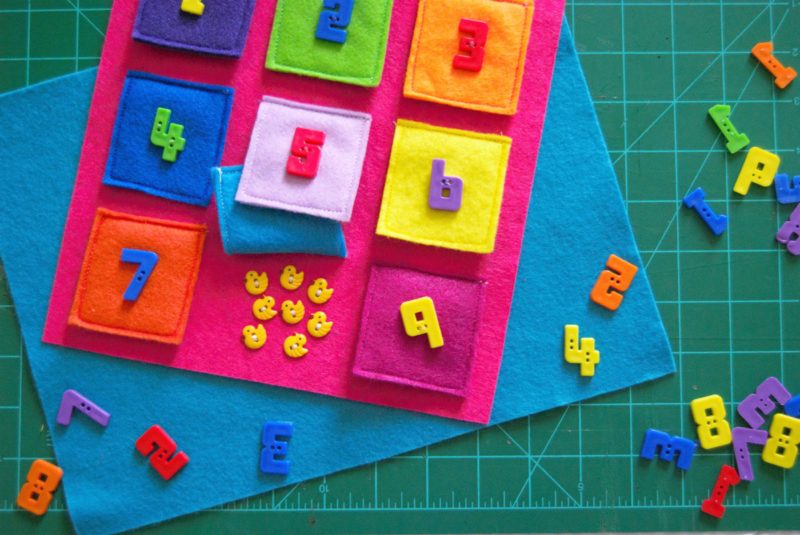
These are the instructions for the numbers and counting page. I used sew on buttons, which could be pulled off if you have a rough kiddo so use discretion with what you think your kid can handle, you know them best. As always, stay close to your child when playing with these pages as they are handmade and might have small parts.
What You Need:
-
-
- scissors
- ruler
- sewing machine
- Sew On Number Buttons
different small button shapes/animals
- felt sheet
- stiffened felt sheet
- Eyelet Punch and Eyelets
-
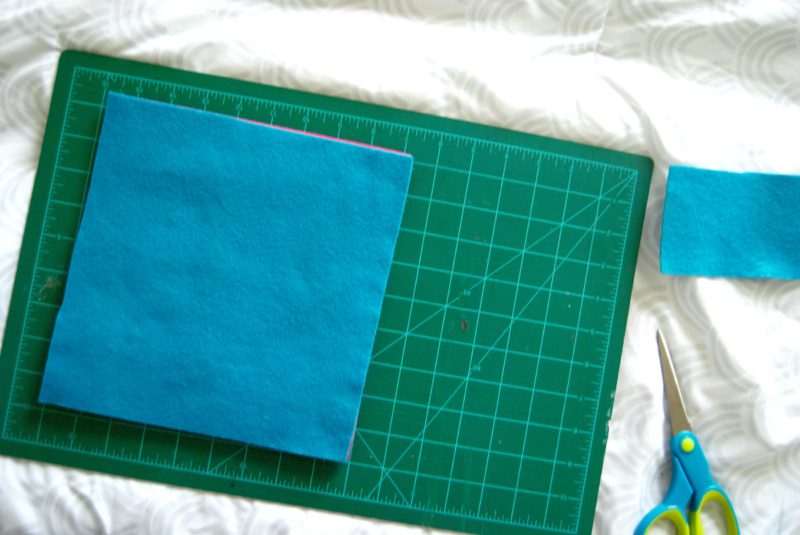
I use the same basic starting point for all of my busy book pages. Most sheets of felt that you will get at the craft store will come in a size that is roughly 9 x 12 in size. I like to cut my pages to be a 9 x 9 square. Stiffened felt may come in a much larger sheet, and a lot of times you can get two squares out of one sheet. The stiff felt is what you will be sewing on to and the regular felt will just be the backing, regular felt can also be used for both the front and back but I found that it is a lot easier to handle the pages when sewing on to the stiff felt.
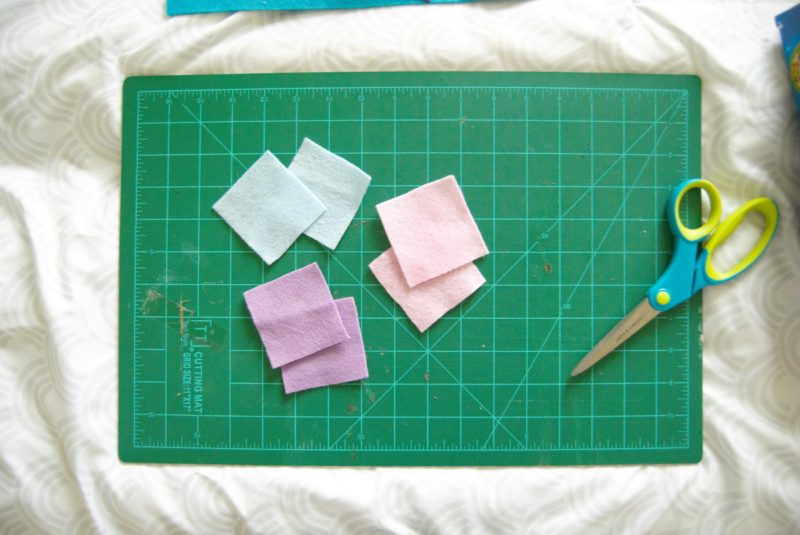
First you will need to cut the flaps that will be used for the numbers. I kind of estimated on the size needed so I don’t have an exact estimate to use, but you will need to cut two rectangles for each flap. In total you should have 18 rectangles so we can go up to 9.
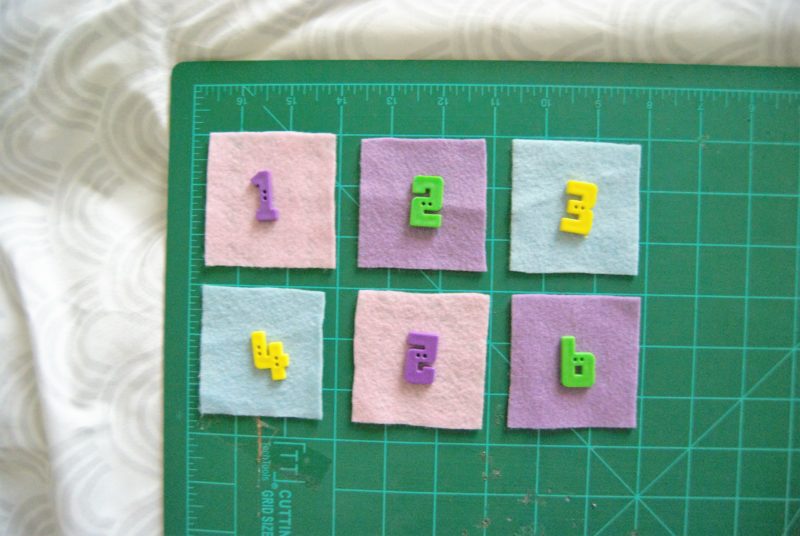
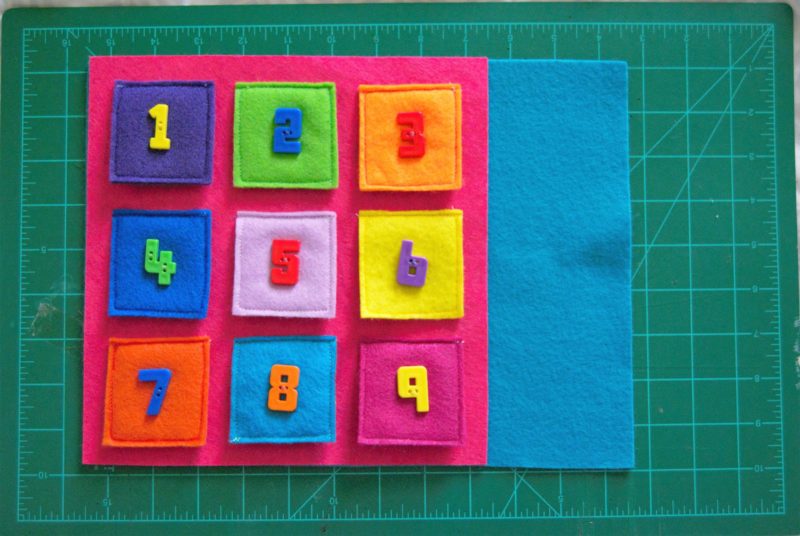
It helps to take time to arrange the colors and the numbers so that they are set up the way you want. I had several options of colors for each number and I didn’t want the same color to be right next to each other.
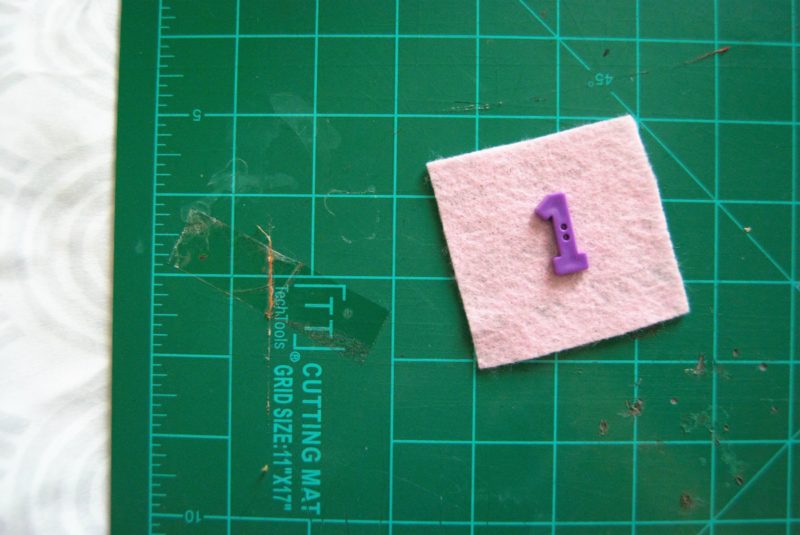
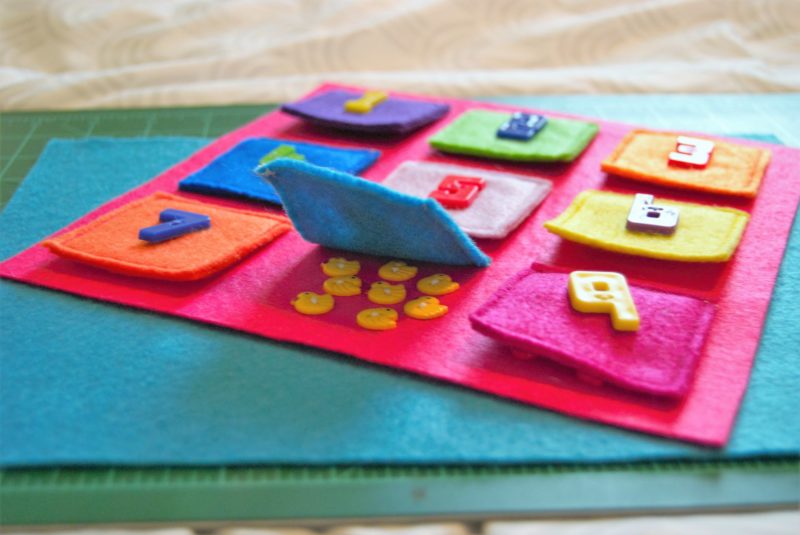
When you have the layout the way you want it sew the numbers to the middle of one rectangle from each of the pairs. When the number is secure, you can set the number rectangle on top of the matching rectangle and sew them together.
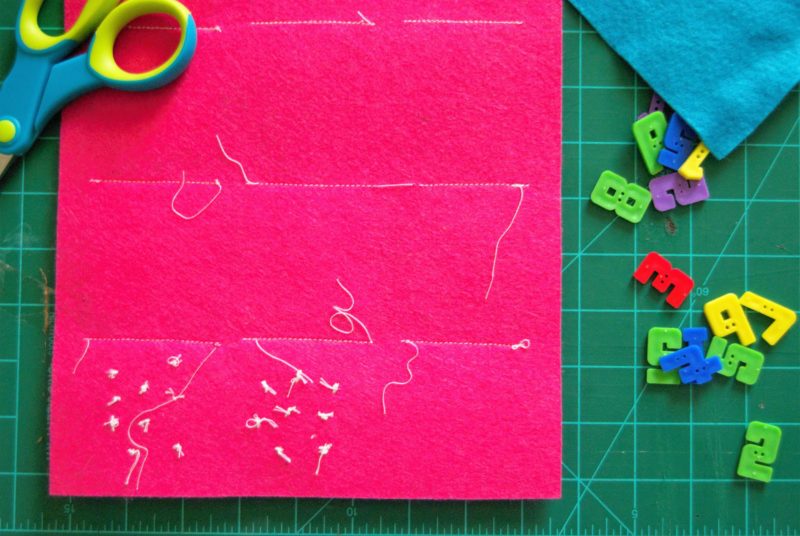
When the number rectangles are all made, line them up on the page how you want them and sew straight across the top of the rectangles to connect them to the page. Under each flap you will want to hand sew the corresponding number of buttons or characters. This part takes forever! Patience though my friends.
The back of this page will look all a mess because it is where you will tie off everything. That is where the next step comes in.
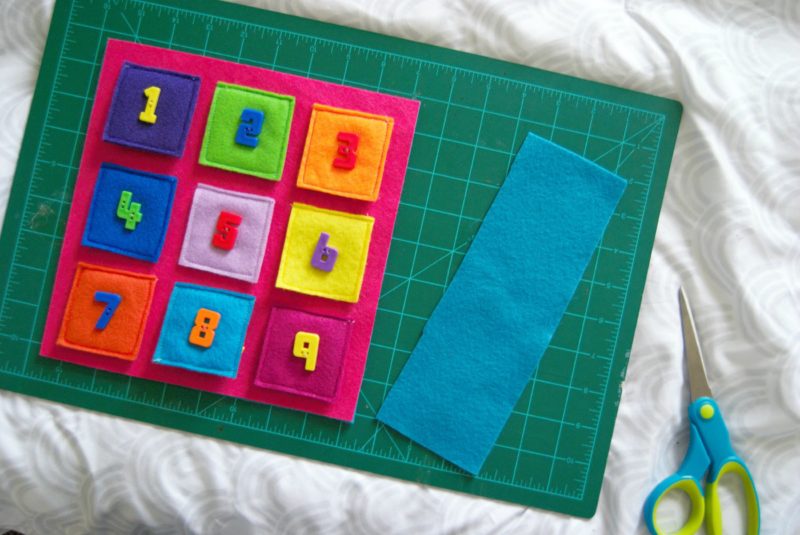 Once the page is complete you can lay the whole thing on top of a regular felt page and sew the two together so that your tied off ends and the stitches from the back of the page are hidden and the page is more sturdy. Then cut off the excess felt. I usually add three eyelets to one side of the page when I am finished and I keep them all held together in a “book” with binder rings.
That’s it! Make sure you always watch your little one when they play with this page, it is cute but the little buttons are small. You could also try to glue on patch numbers or sew on felt numbers. Iron-ons will not really work with felt, the felt tends to melt and even on a low setting doesn’t get hot enough to set the glue on the patch.