Our little guy wanted to some crafting today but he wasn’t quite sure of what he wanted to make. He was pretty sure he wanted to cut some paper though. Using scissors and cutting stuff could easily be his favorite hobby right now. So I figured we would build an easy project around that. This project requires you to use any type of paper or string, really anything you can glue to another piece of paper. It is pretty easy for any age group that can use a glue stick and it can be adapted to make any shape. And it requires very few supplies to make it! Lets get started.
What you will need: scissors, paper cutter (optional), glue stick, paper in various shades of the same color, white paper, string, magazine pages, tissue paper
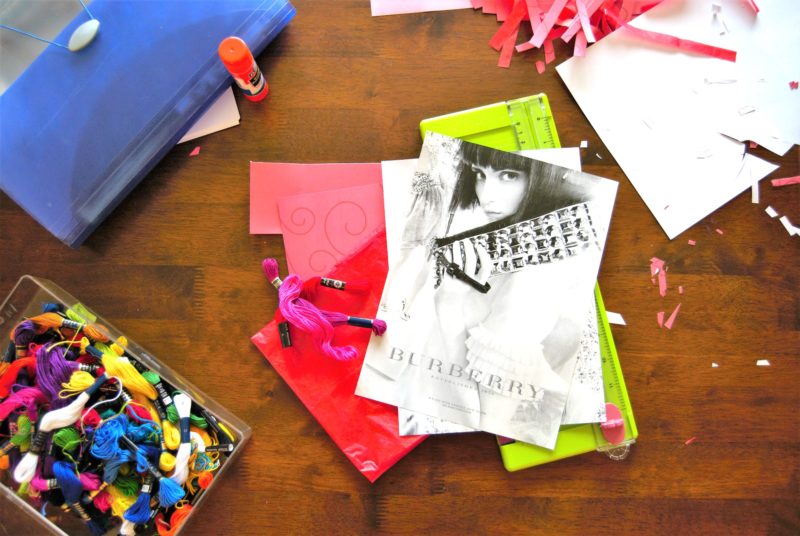
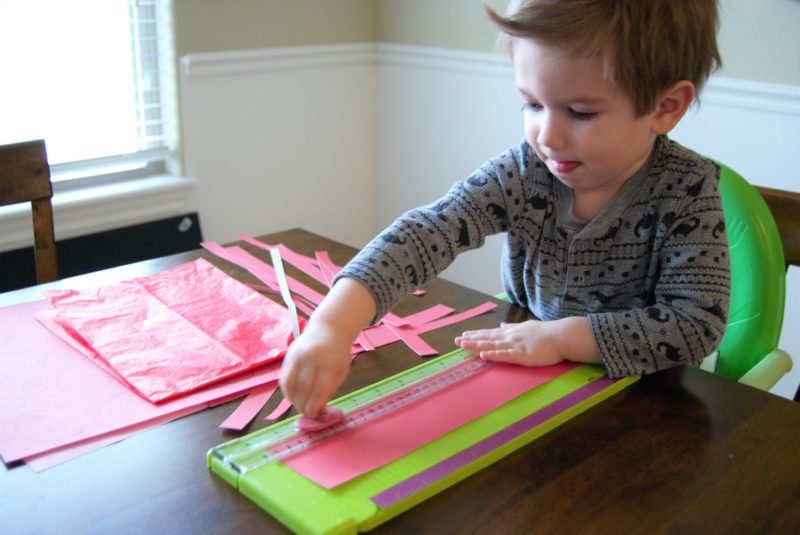
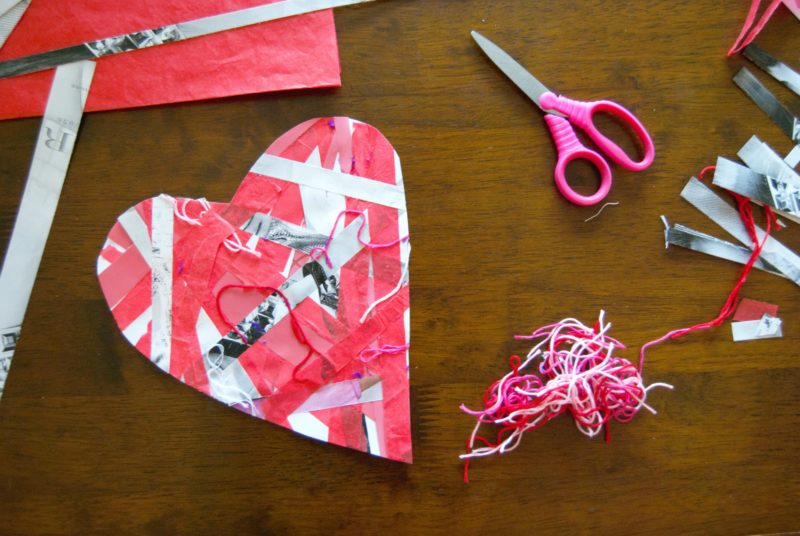
First thing you will want to do is cut up your paper in to strips. My guy wanted to help with this part but since he is two, cutting straight isn’t a thing yet. Fortunately, he loves the paper cutter and it is safer for him to use anyway. If you don’t have a paper cutter and you have little kids who love to help but aren’t the greatest with scissors I highly recommend trying a paper cutter. He can practically use it by himself and he wont really risk getting cut by it.
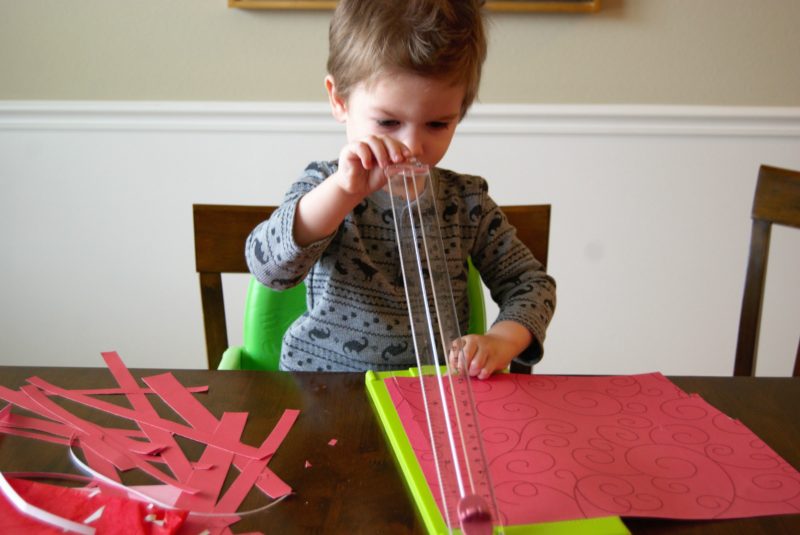
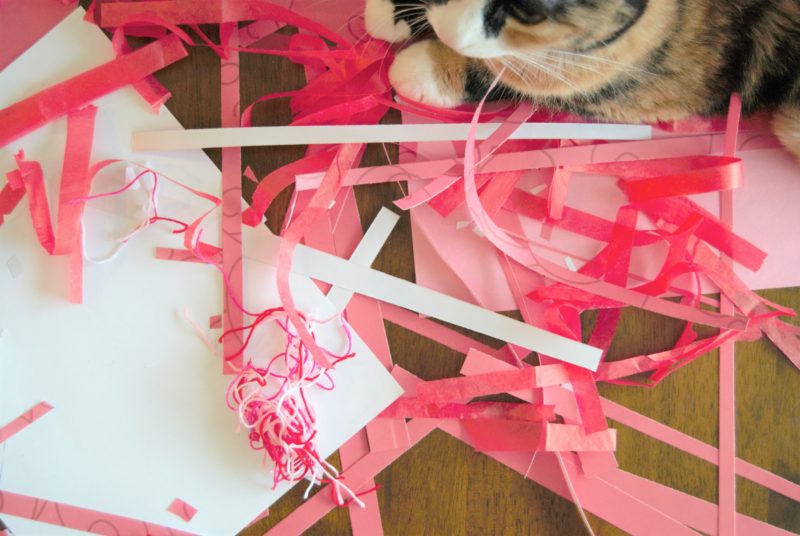
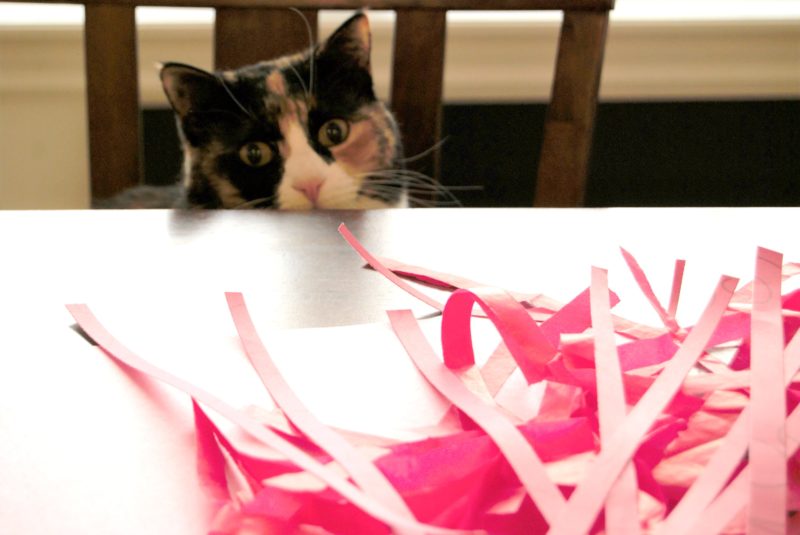
You will have tons and tons of shredded paper. If you have a cat they will definitely help guard your shreds of paper.
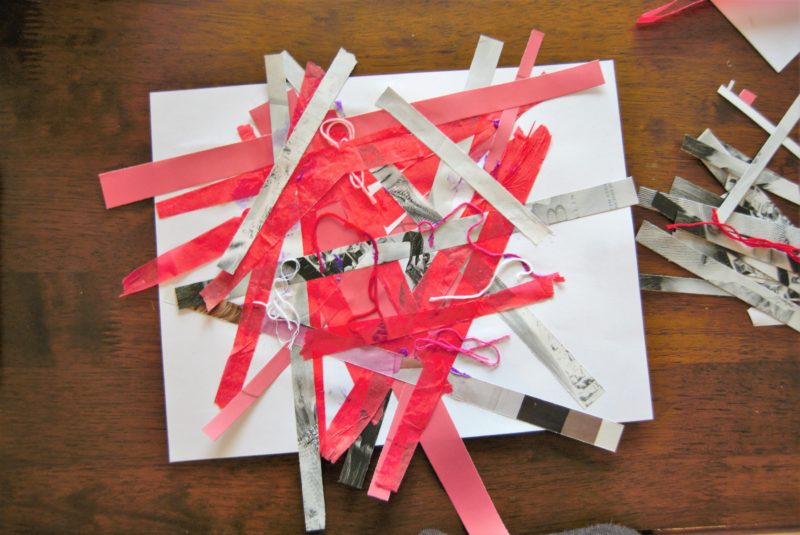
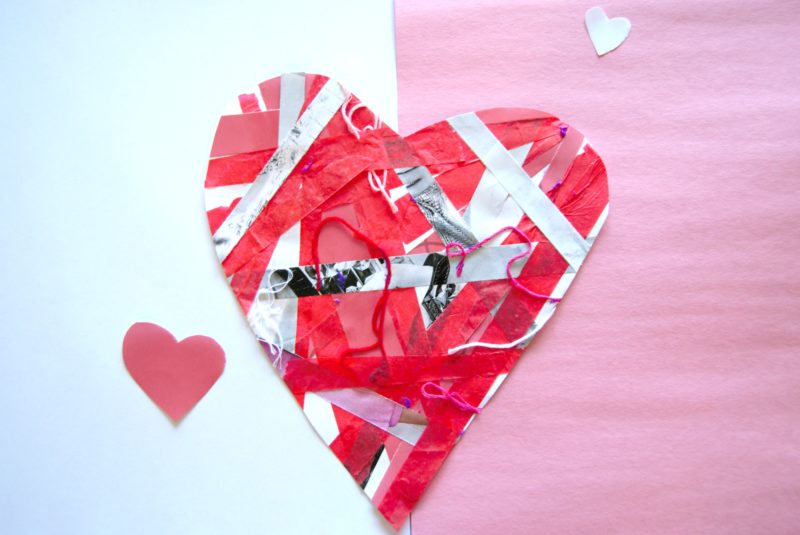
All that is left is to glue your papers in random order all over the paper. Kiddo naturally didn’t have a method to his gluing, at least not that I could tell. For mine, I tried to use a “organized unorganized” method. Basically, I placed the strips kind of random but sort of in a heart shape. That way when I cut out the heart later I wouldn’t have wasted any strips of paper.
Finally, I simply cut out a heart shape! I didn’t really use a template, I don’t have the patience for tracing things out so it looks a little crooked, but you get the idea. If you wanted to find a heart template you could easily trace the shape on to the back and then cut it out.


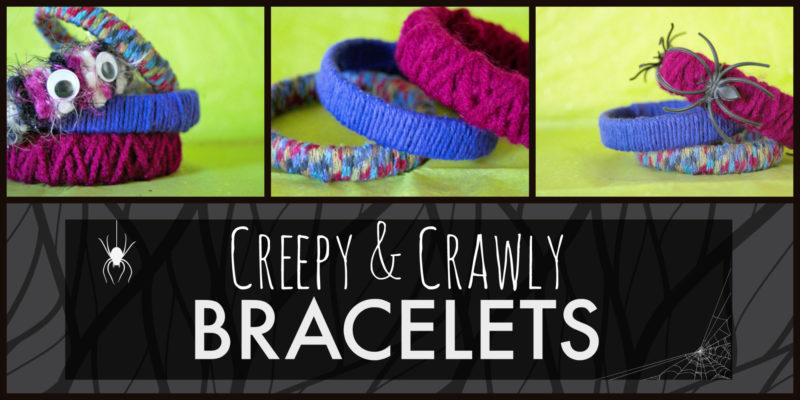 Halloween is just around the corner and while most people have been planning their costume for weeks, I have put very little thought into it. I get way more excited planning what my toddler is going to be. I’m usually stuck somewhere between wanting to show my Halloween spirit but wanting to wear clothes that won’t leave me freezing, itchy or with some form of face paint on. I’m also one of those people that once I get dressed in the morning, I’m dressed for the day. That’s where these cute Halloween bracelets come in.
 What You Will Need:
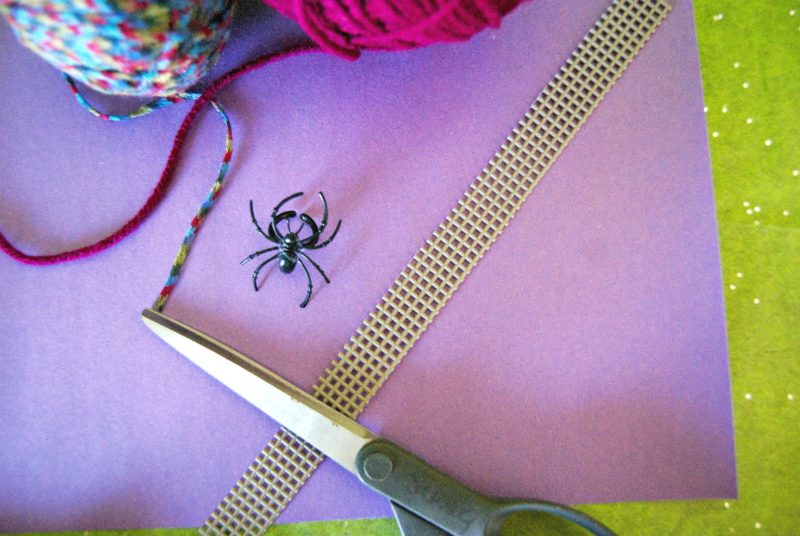 First you will need to cut a strip of plastic canvas in the width that you want for your bracelet. I cut the strip along the shorter side of the plastic canvas sheet so that I could make more. It doesn’t matter at this point if it is too long because you will want to overlap it anyway.
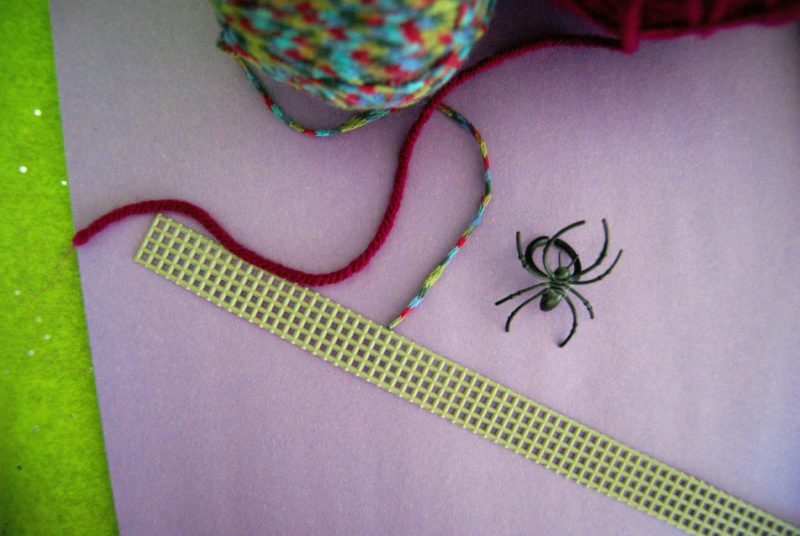 Next make sure you cut off any of the little “nubbins” from the plastic canvas. You want it to be smooth on both sides of the strip. This is an easy step, but a surprisingly messy one. Those things will go everywhere and if they get in your carpet the only chance of getting them out is vacuuming.
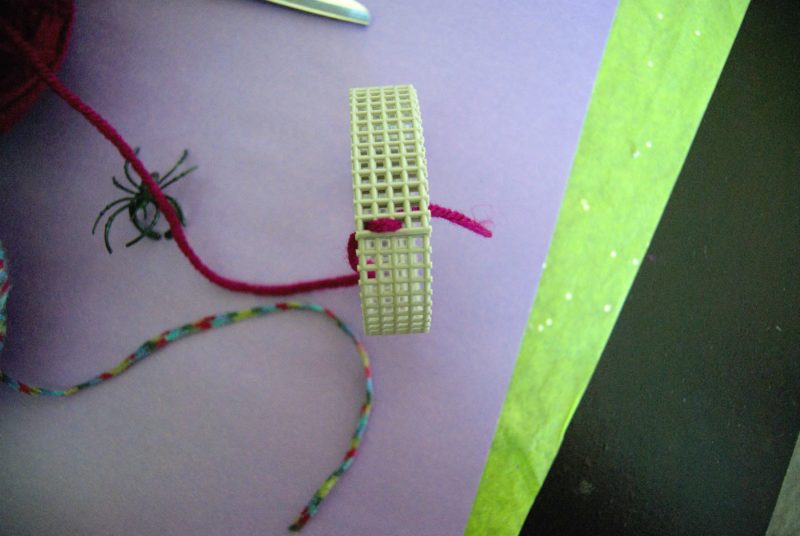 Now you need to determine the size of your bracelet. It needs to easily go on to your wrist but also not be so big that it falls right off. This is where the overlapping happens. Once you get the size you want, you will need to tie the overlapping parts together. You will only need to do this in one little spot, just to make sure the size stays like you want it.
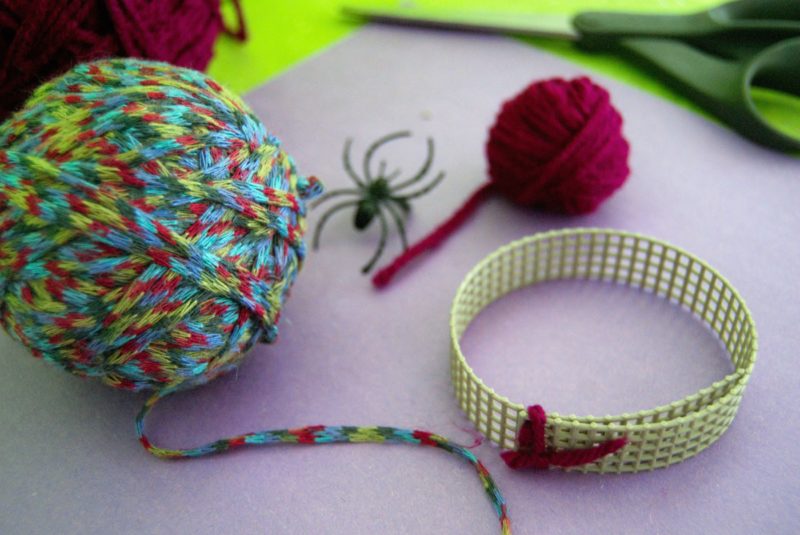
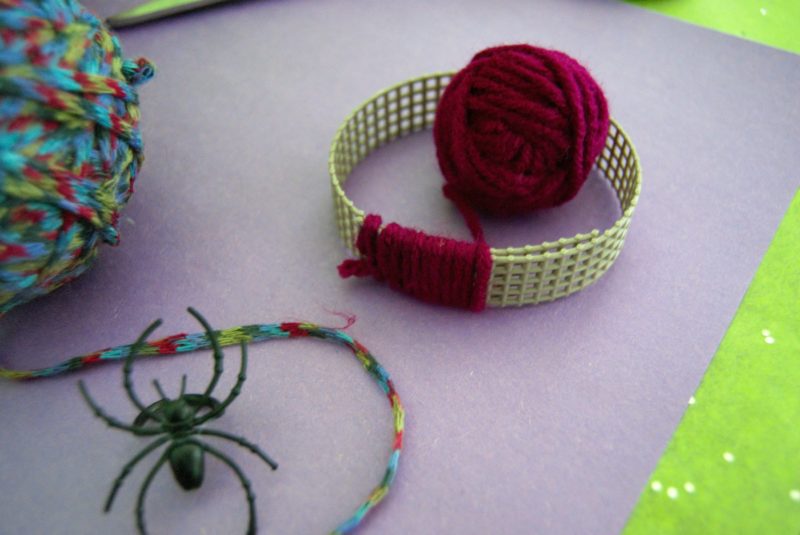 Once you have your mini yarn ball, pick a spot and start wrapping it around the strip. This part is the most annoying and time consuming part. Weaving through the bracelet hole while trying to keep the yarn close together on the strip takes a little bit of effort. Once you make it all the way around the bracelet you can either stop or go around again just to give it a little something extra. I went around three times, but on the third time I wrapped it not as tight and spread it out to give it a little different texture.
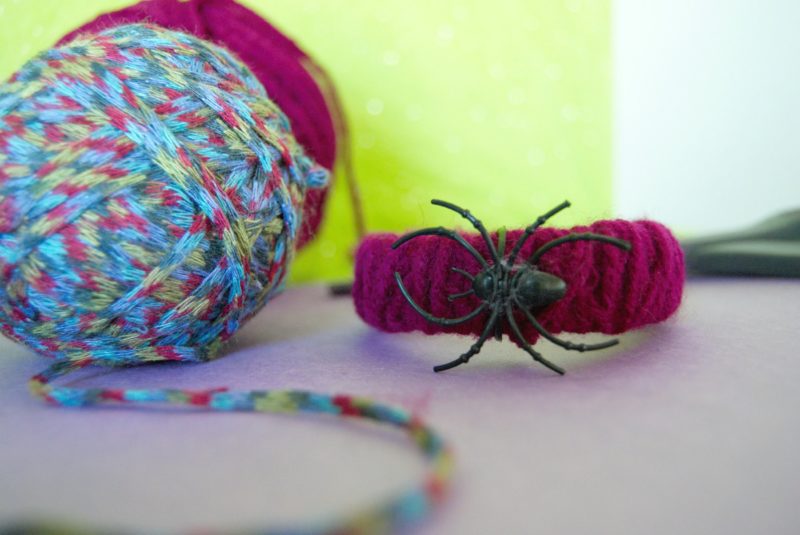 Once you have your bracelet wrapped you will need to cut the yarn and glue the end down, preferably on the inside of the bracelet. I glued it down and then tucked it a little so that it would be more hidden.
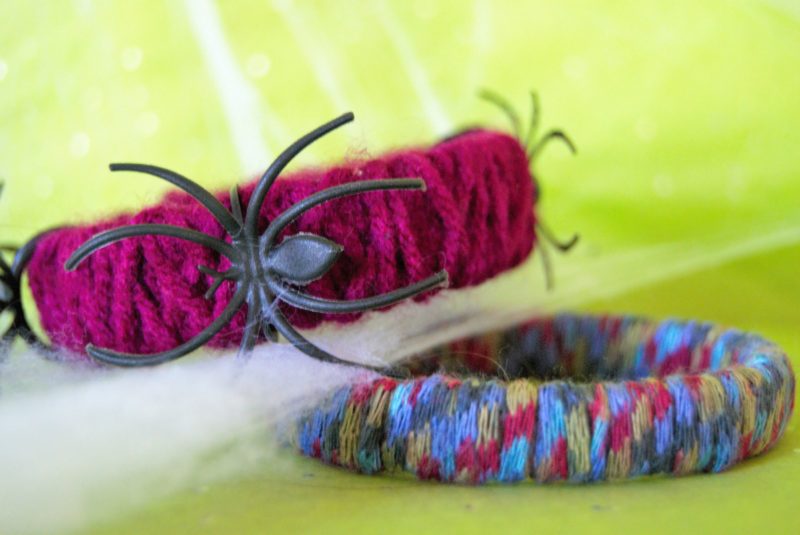
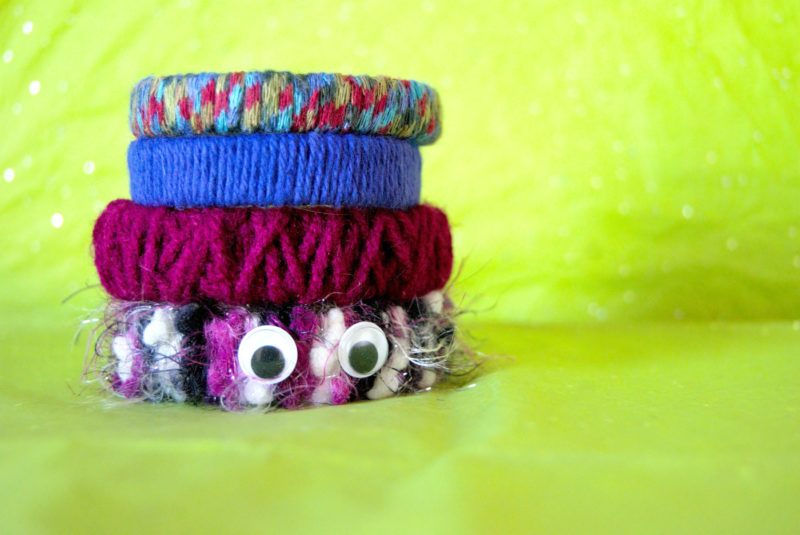
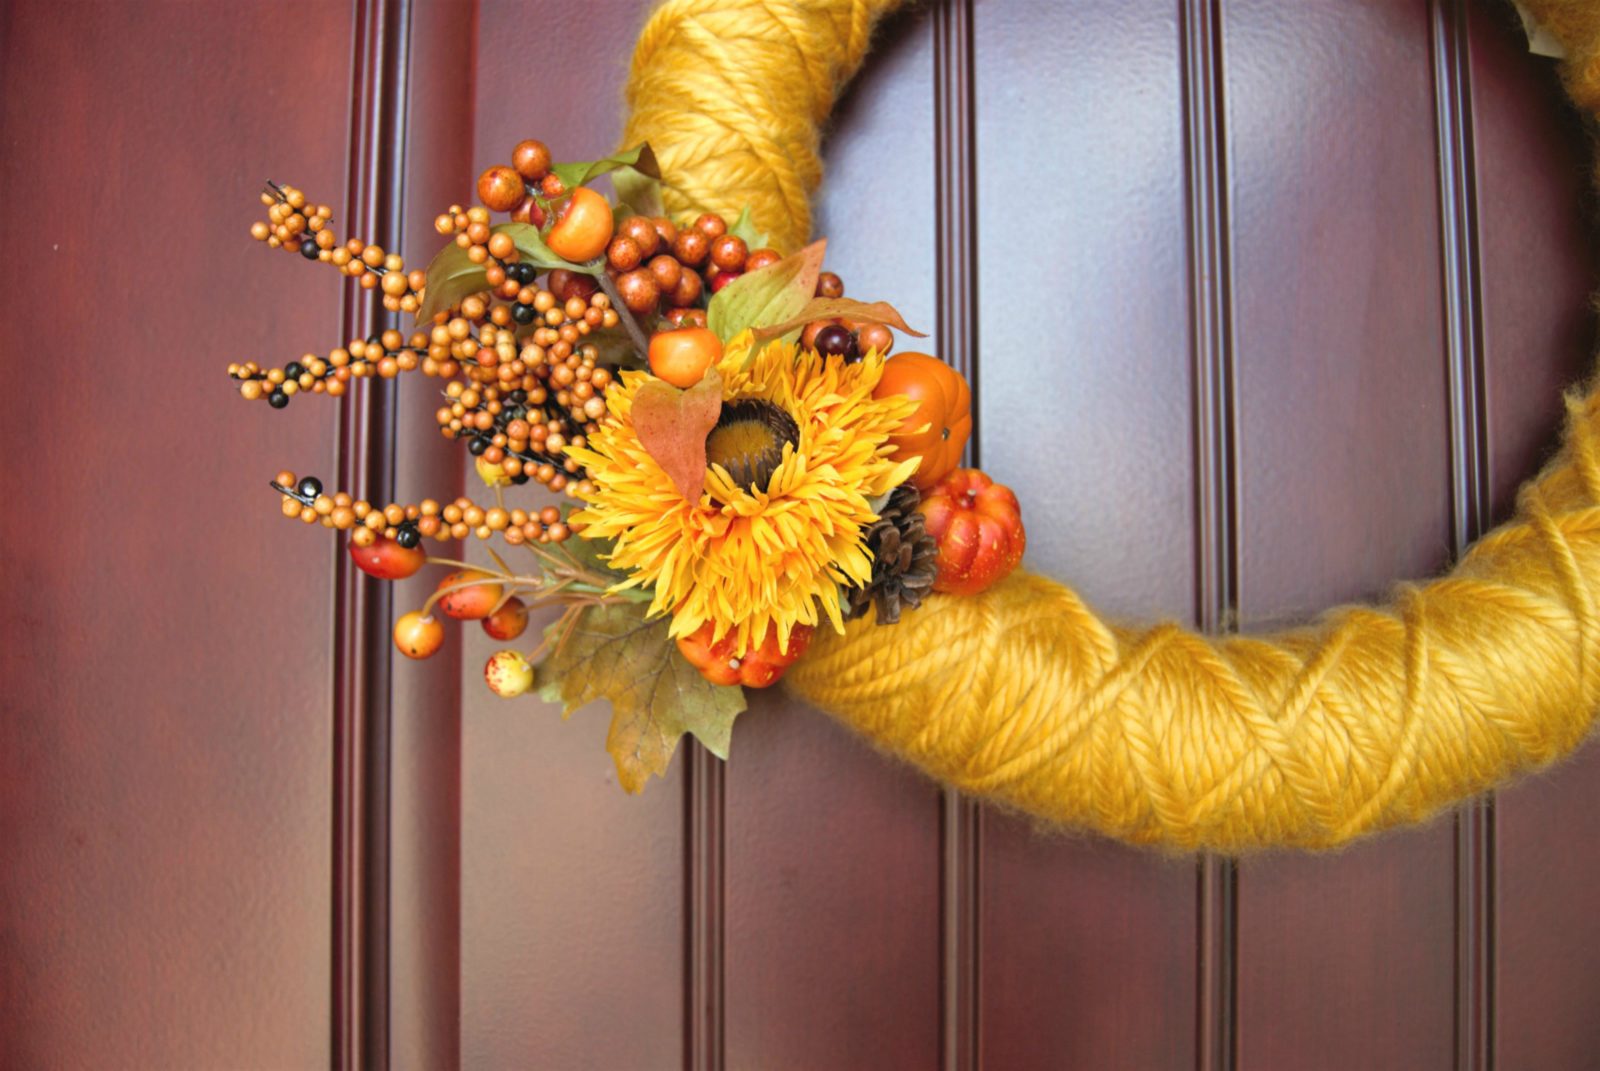
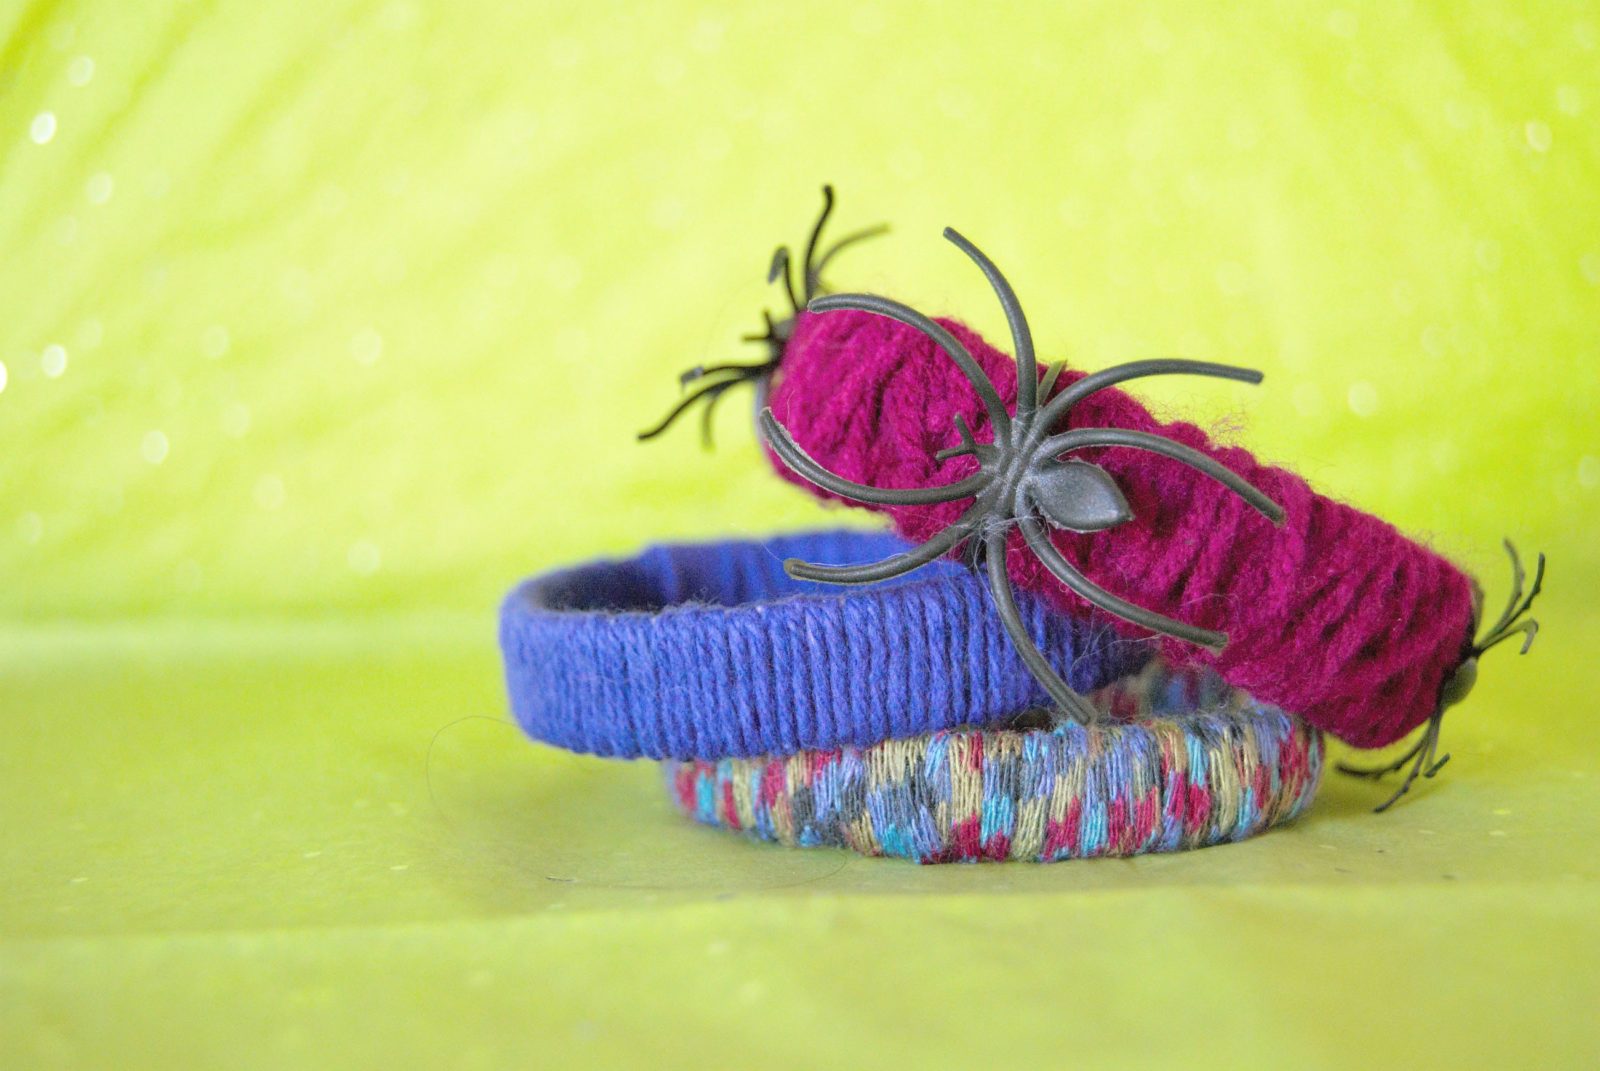
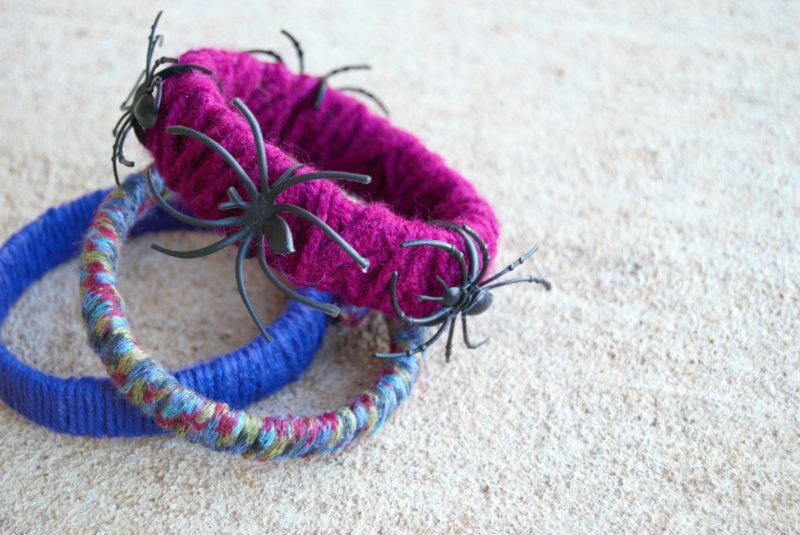 Finally add all of the finishing touches! I just simply took the spider rings and cut the ring part to there was an opening and wrapped it around the bracelet. If you bracelet is smaller in width, you can cut the spiders from the ring and glue them to it. For eyes I just glued them on. I think in hindsight I would have used a different color of yarn so that the spiders would stick out more. I didn’t want to do the traditional orange and black because I’m honestly not a big a fan of the color. But a green or even a lighter purple would have looked pretty good too. You could easily add some small plastic snakes or skeleton bones if you could find them. I even tried wrapping one in “spider webs” but it looked a mess so I didn’t post any pictures. When you are done, slip your creation on and wear it proudly!
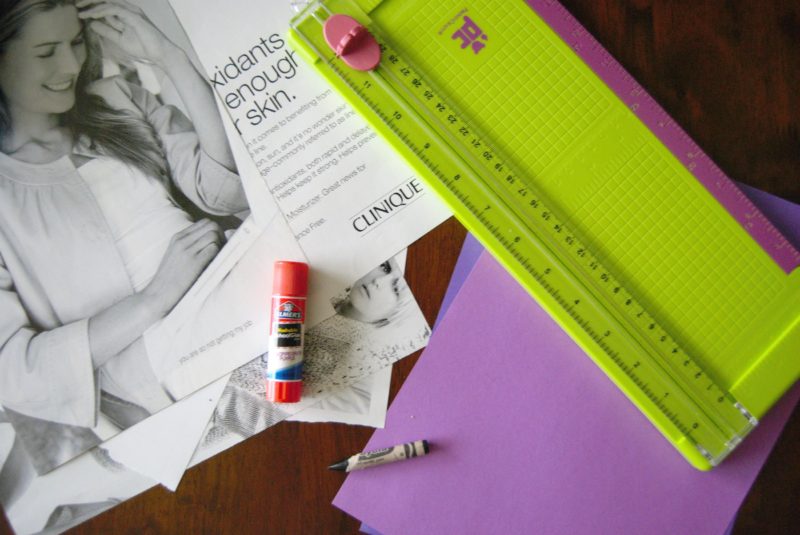
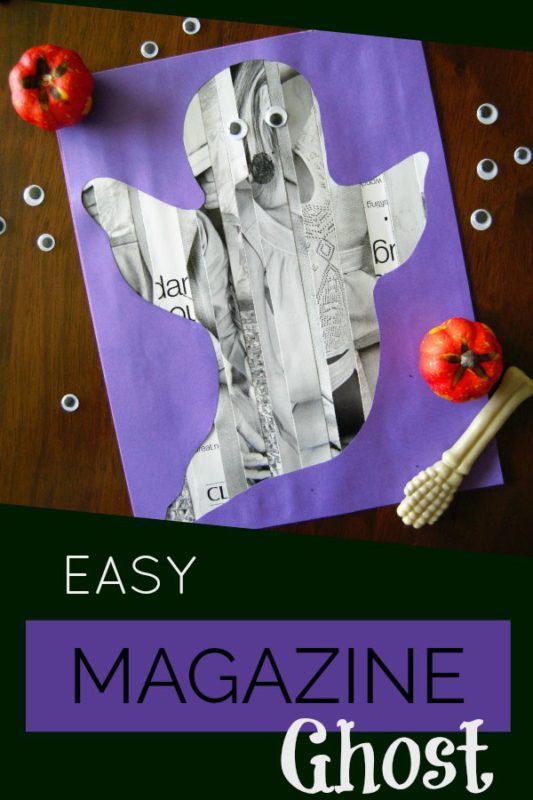
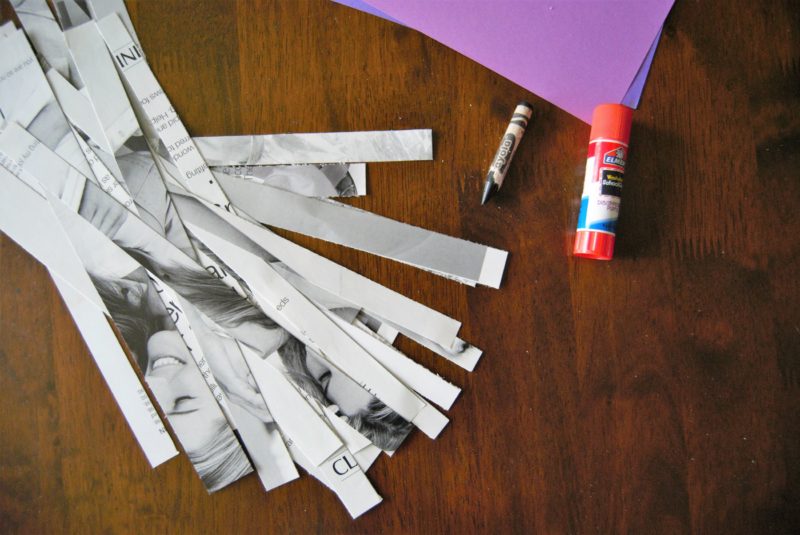 First you will need to cut your paper in to strips. I made them all different widths but all the same length.
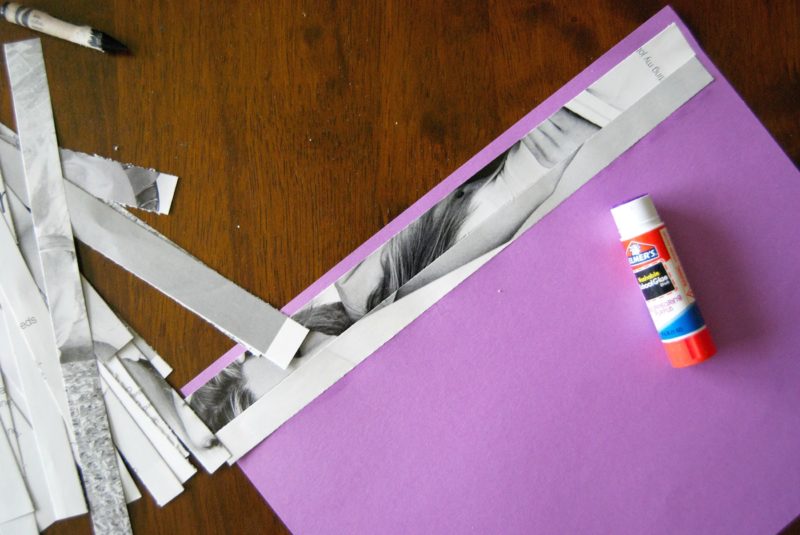
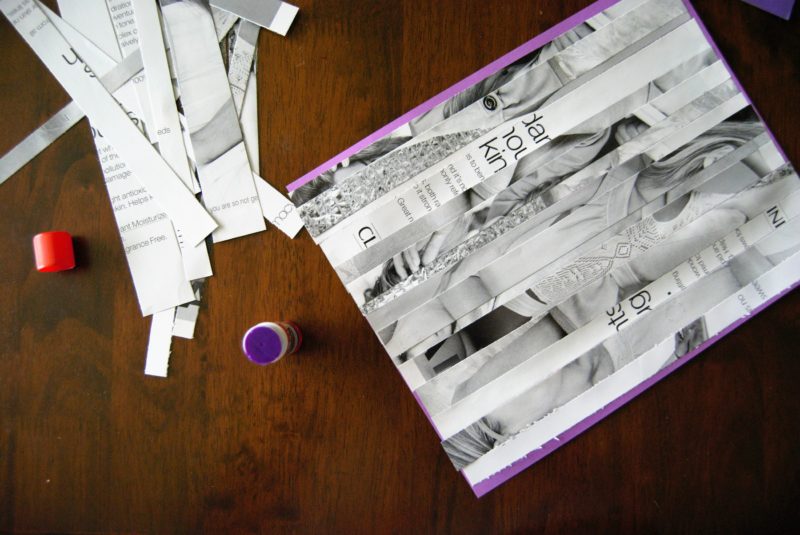 Next, glue the strips to paper making sure to cover the whole page. I even layered some just to get the patterning that I wanted.
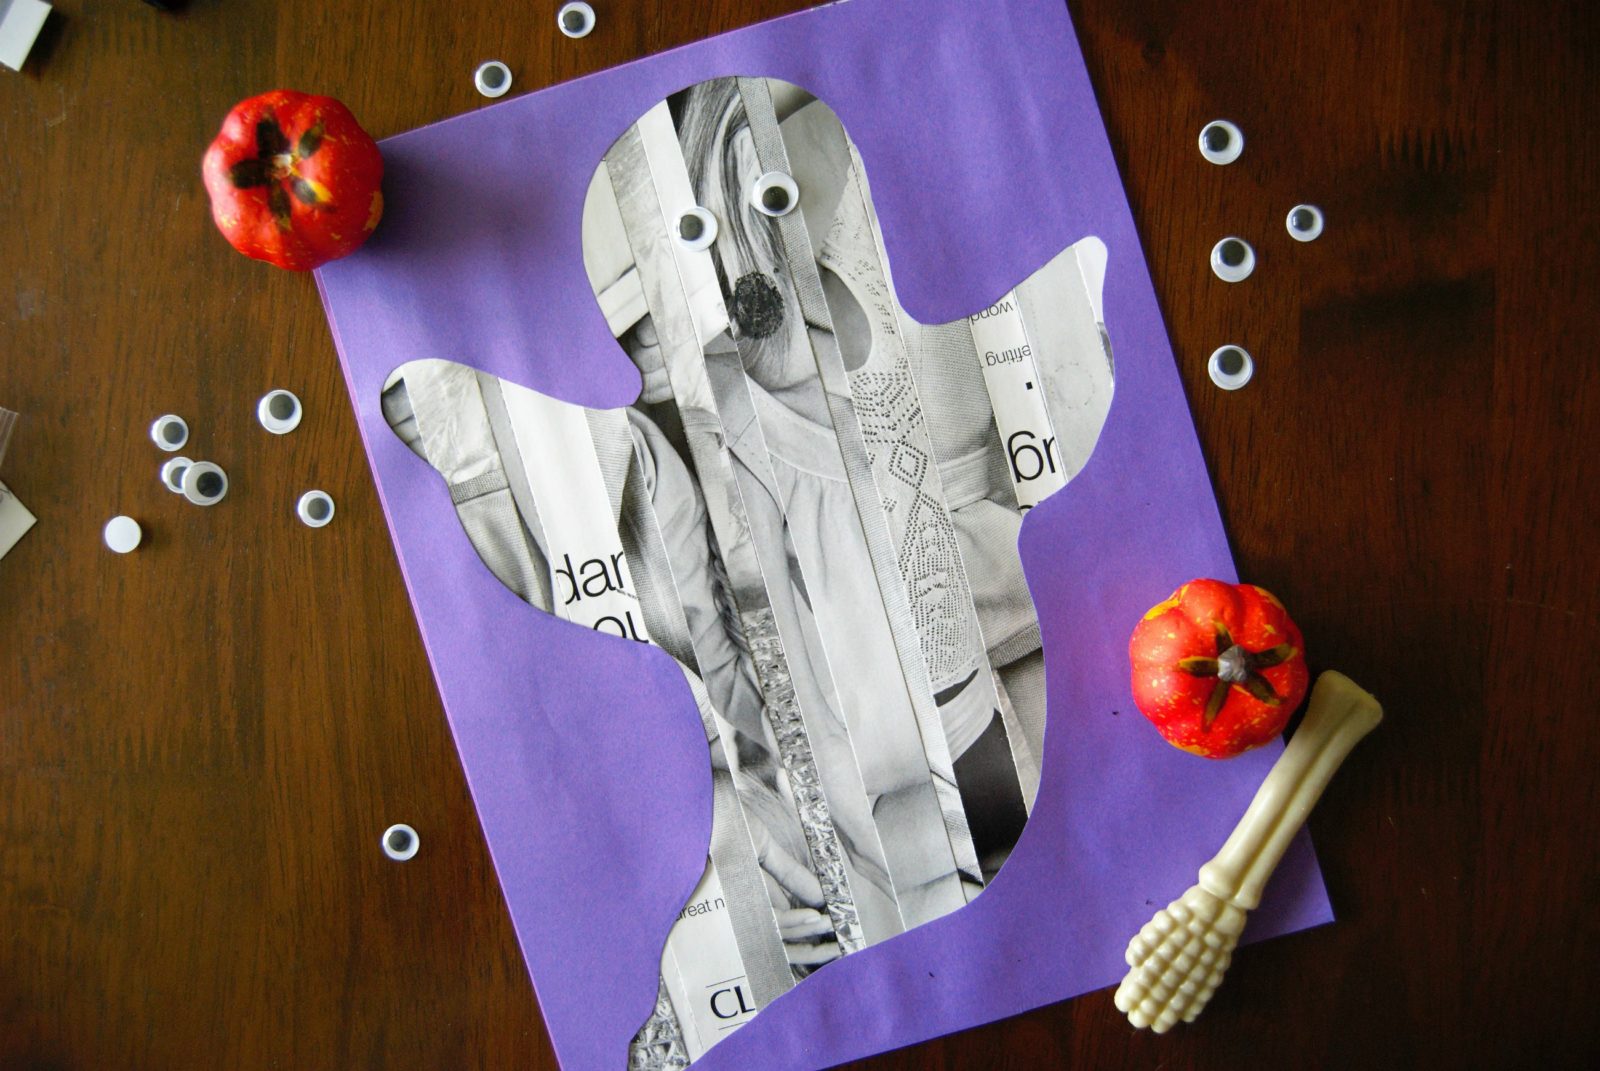
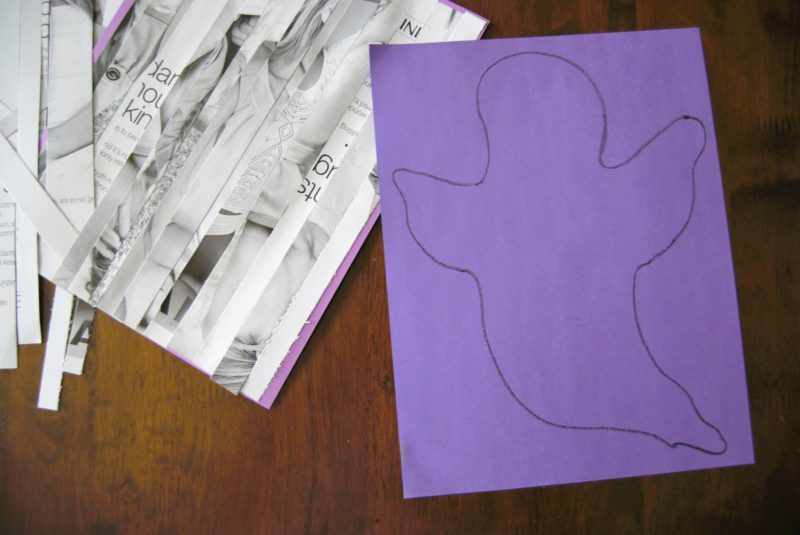 Finally, you will need another sheet of paper in the desired color you want to contrast your ghost. Simply draw the outline of the character that you want on to this paper.
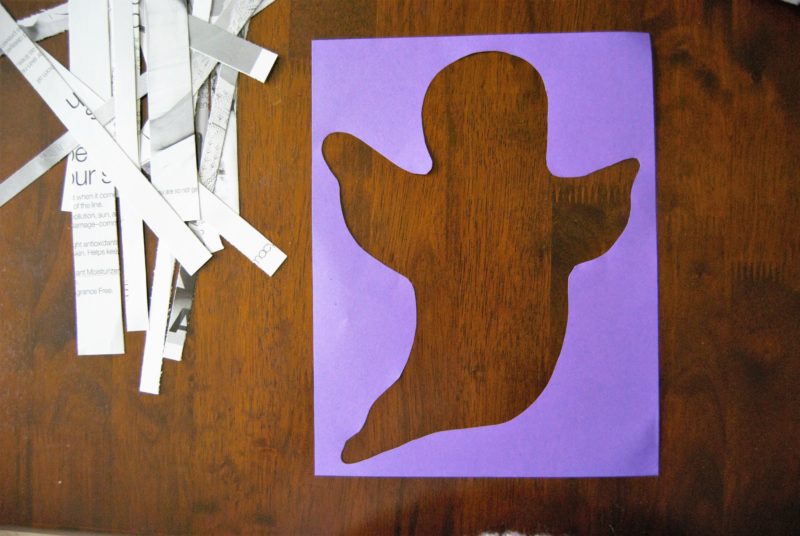 Next cut out the character, being sure to cut out from the center.
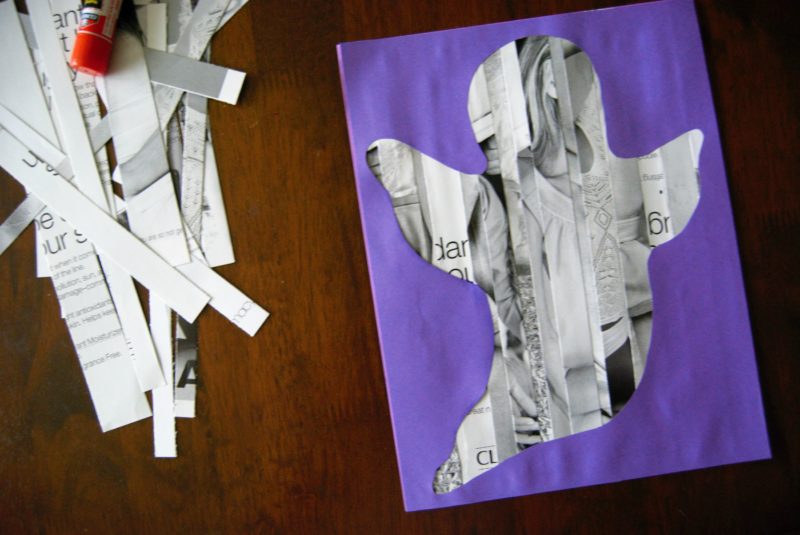 Place the cutout on top of your strips of paper and glue it down. Its that easy! All you have to do is put the finishing touches on! I love this project because it is easy for every age, and it can be anything. Even if I didn’t have orange pages I could still use white and then use a translucent paint to make a cute pumpkin, a spider, or a a witch hat. The possibilities are endless and it can be used for every holiday.